Skip to content

The Bradbury:Our Finest Piece Yet

The Bradbury:Our Finest Piece Yet published on

IMG_9546

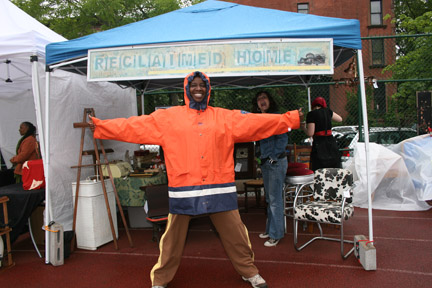
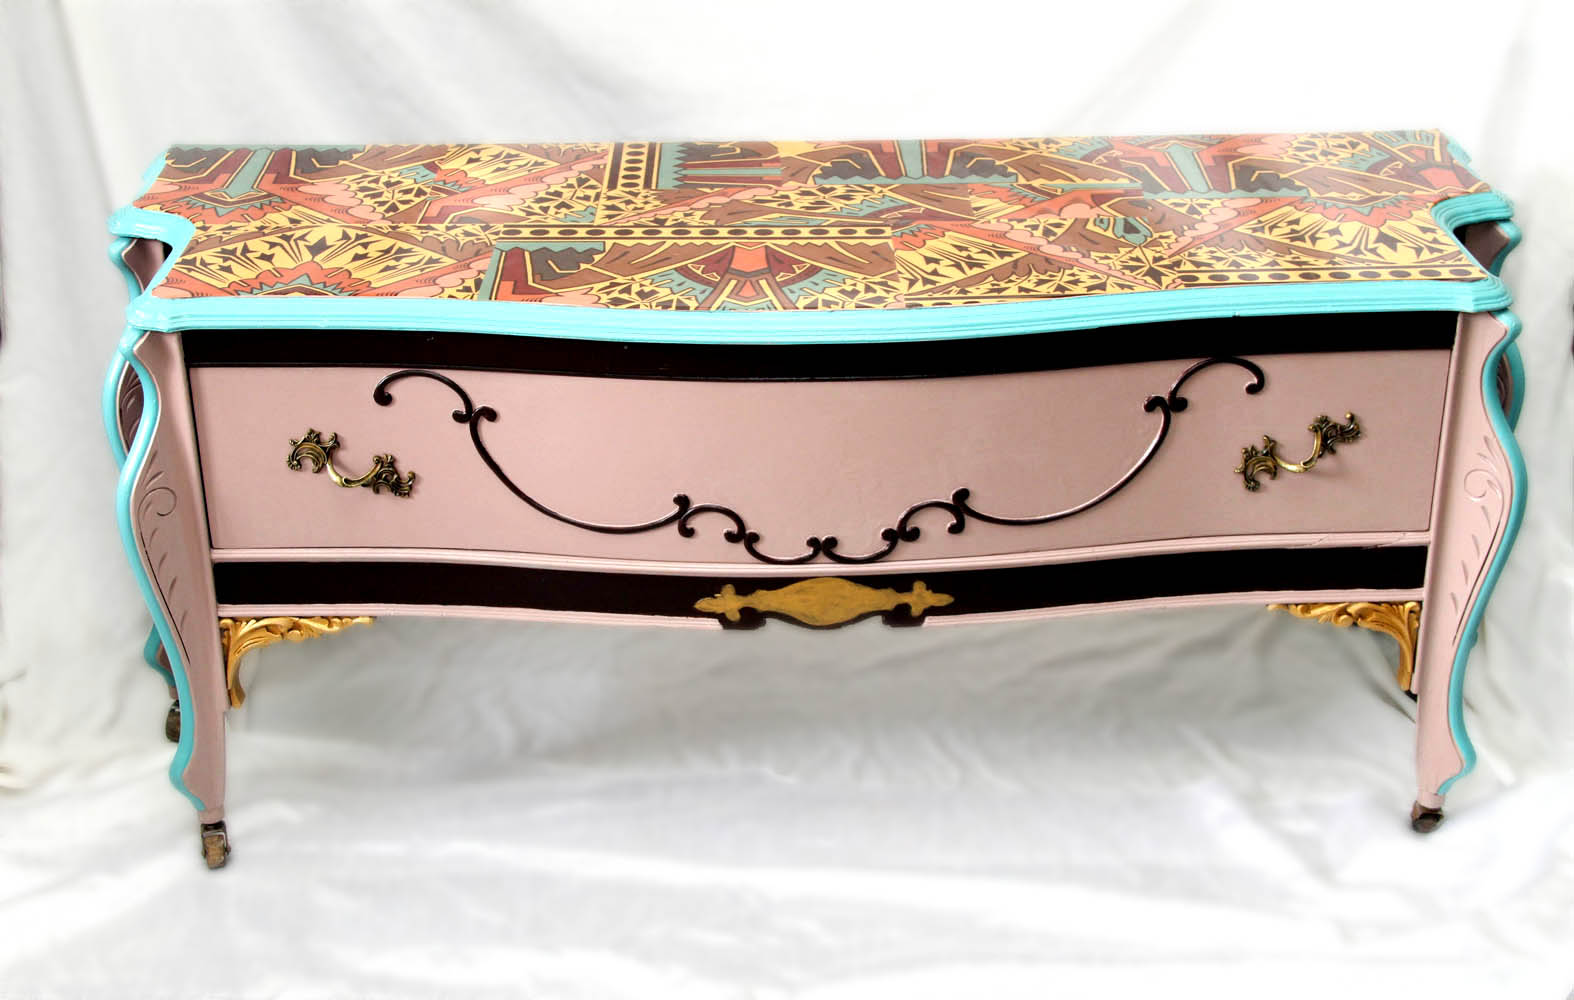
We’ve painted a lot of pieces at Reclaimed Home and we’ve done some great techniques such as patina, wood grain and stenciling.  But we’re loving our latest signature piece that we like to call “The Bradbury”.

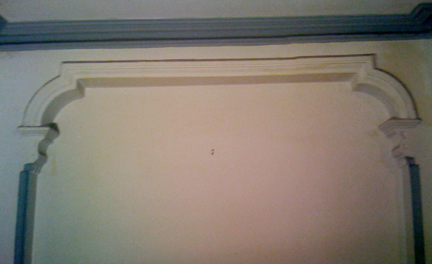
This came to us as a throw away vanity with mirror and side compartments.  It sat outdoors in someone’s Long Island backyard for too long and the wood became warped and rotted. Although we saved the top bits as we removed them, the lower part was the only thing that was really salvageable. We don’t know exactly what use it has….a storage bench to go against the wall or at the end of a bed, a single sided coffee table. It definitely has some function and will be the highlight of any room.

IMG_9539

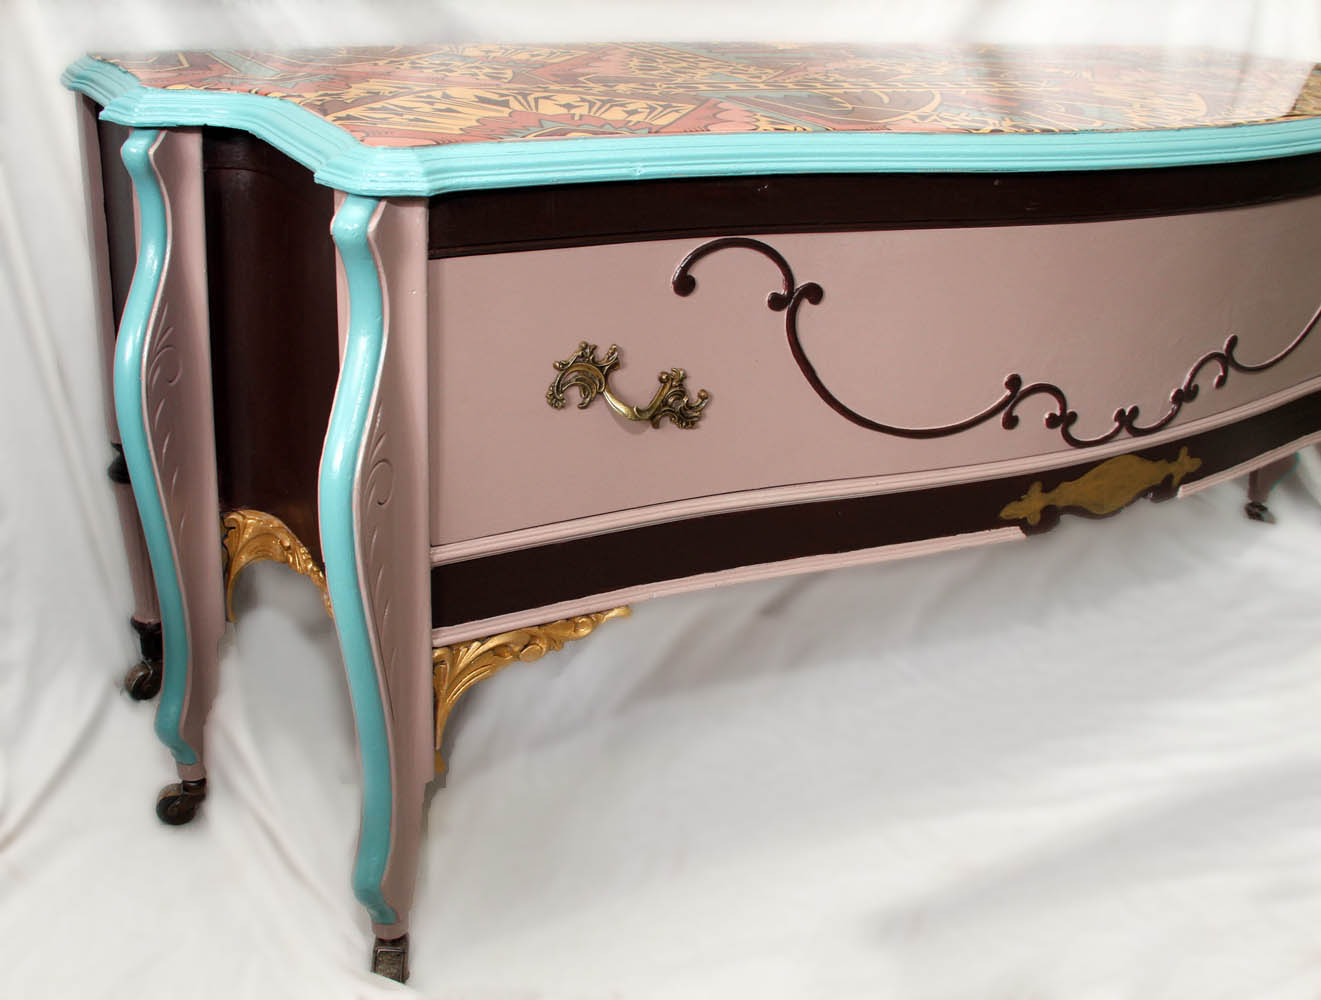
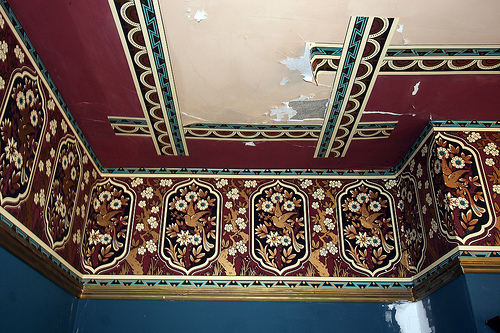
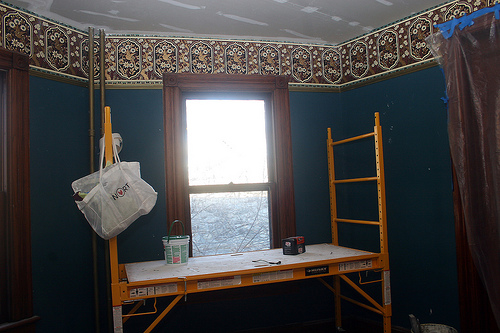
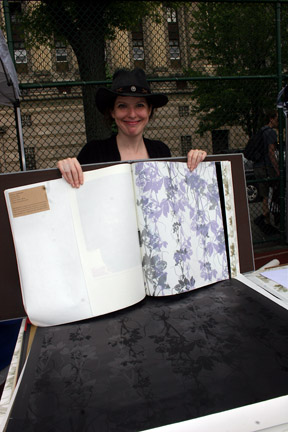
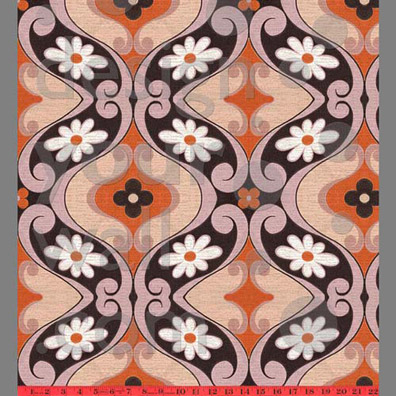
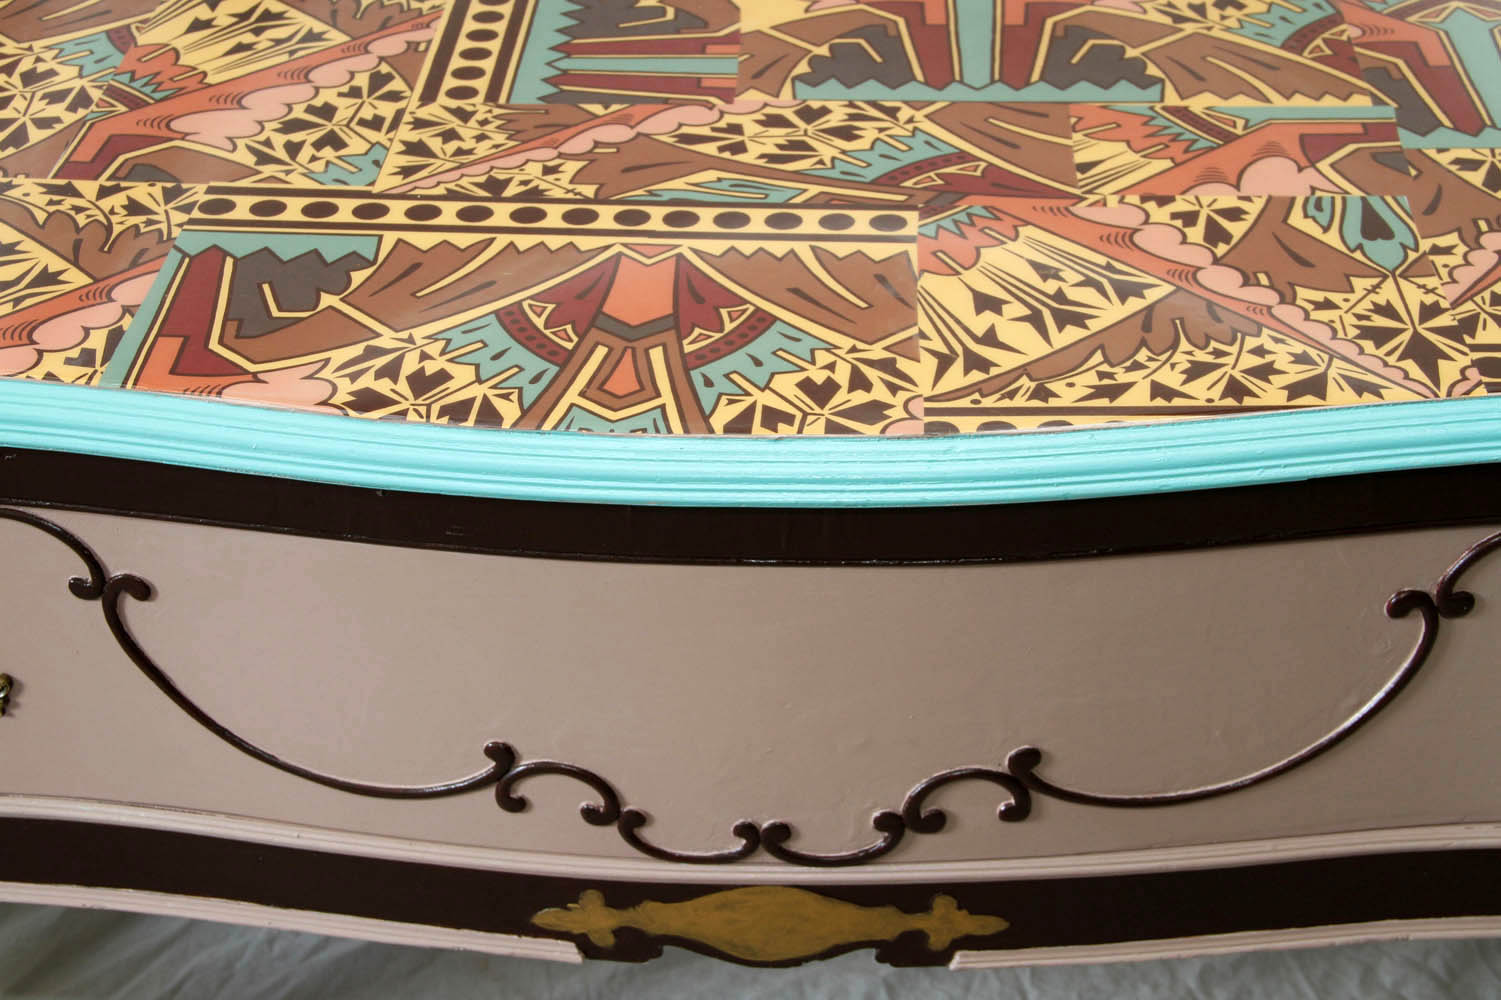
Sometimes the best things come out of necessity. In this case, the top was in such bad shape that we needed to figure out a way to restore it or hide it. That’s when it came to us that the leftover Bradbury wallpaper from a previous home restoration was sitting on the shelf. We’ve done resin wallpaper techniques before and knew that’s what this piece was screaming for. We matched the paint to the wallpaper and gave ourselves a nice pat on the back, but at the end of the day, it’s hats off to the original designer of this piece. The lines and detail are incredible!

IMG_9543

The amount of work time involved and the price of Bradbury wallpaper makes this, not only our finest piece yet but also our most expensive at $1200. Yes, we take credit cards. Come on, you know you want it.

Concrete Wood

Concrete Wood published on

woodcrete

Wood is the esthetic building material of choice when it comes to fencing, floors and decking. The problem with wood is that it starts to wear down after time. Longer lasting options would be Trex, laminate or PVC fencing to name a few. It just feels wrong to replace a natural material with plastic. *It should be noted that Trex is mostly made up of recycled materials.*

We don’t always think of concrete as an alternative to wood, but it’s stronger and lasts a lot longer all while looking more tasteful than other synthetic options. Think of polished concrete countertops and floors.

Unpolished concrete is easier to DIY for the less skilled laborer and can end up looking just as fabulous. As with any concrete job, the form would have to be built, concrete poured and form removed when dry. The “wooden fence” above was created by such a technique. The bad news is that it’s the double the amount of work as installing a wood fence. You basically have to construct two fences and pour the concrete in the middle. If only one side is to be seen, you can cheat with a sheet of plywood on the hidden side. When the wood is removed, voilà, you have a “wooden fence” made out of a material that will last a lifetime.

Concrete can be tinted and let’s not forgot that it’s a fairly inexpensive material. Although controversial for the sake of nostalgia, many wooden boardwalks are now being replaced by concrete.

Better than Faux

Better than Faux published on

wall2

It takes skills or money to hire people with said skills to create a faux aged plaster effect on the walls. But lookey what I uncovered the other day. Yes, it’s the real deal well preserved under wallpaper and skimcoat.

Is it taking just as long to painstakingly scrap down the wall? Yes. But hear me out, man. Cost: Time. Materials: Just a clear polyurethane to seal up that toxic lead paint I’m releasing into the air.

This is just a single, small wall at the top of the stairs. Nobody will ever notice it but I’m taking great pleasure in the process anyway.

How Not To Tape and Mud Drywall

How Not To Tape and Mud Drywall published on 2 Comments on How Not To Tape and Mud Drywall

taping

We all have our skills and limitations. For me, that limitation is drywall and plastering. I hate it like poison, which is probably why I’m not very good at doing it.

The correct way to tape and mud is to build the joint compound up 3 to 4 times while feathering it out with each coat. But that means 3 to 4 days between dry time and who has patience for that? I’ve learned the correct way to do it. And sometimes I do try. I really do. But it’s not so easy!

IMG_8853

You smooth one area out and the adjoining area gets messed up. The mud on your knife gets something in it and leaves a streak in your perfect layer. The tape bubbles.

That’s what sandpaper is for. They say a good plaster or taping job requires very little sanding. Well, at least you can make a bad job look decent with tons of sanding.

Watch the videos below for the correct way to tape and mud. Let’s see how well you do.

Color!

Color! published on 1 Comment on Color!

IMG_1900

After suffering through the endless demo, sheetrock, taping and mudding, I finally got some color on the walls. Personally, I prefer rich jewel tones but since I’ll be trying to sell the house, I went with a lighter palette.

IMG_1906

So, my lighter palette choices don’t translate into “safe”. I couldn’t bear the thought of using white. I tried to go with “beach housey pastel” but as you can see, some of the walls are more reminiscent of desserts. Mmm, mint chocolate chip and orange sorbet…..

IMG_1898

IMG_1897

Saving Bradbury

Saving Bradbury published on 1 Comment on Saving Bradbury

 4262745576_00ba2d17b0.jpg

Jeez Louise, what we are going through to save some Bradbury wallpaper border that we don’t even like!

We have some major plaster work going down in our dining room at the moment. Unfortunately, the ceiling wasn’t worth saving, so we laminated and lost the border up there. We even contacted Bradbury to see if there was a way to steam it off and reuse it, but they didn’t recommend that.

4301696336_aa1acc8841.jpg

In any case, we were determined to keep the wall border alive and well. It took the better part of a day to prep the room for plastering and painting. Between covering the paper, the mantel and all of the wood moldings, it doesn’t look like there’s a hell of a lot of wall space left to work on.

After all is said and done, the border will lose 1-2 inches because we’ll have to put molding on the top and bottom since we don’t want to go near it with the plaster.

4300947317_bb673b92a2.jpg

By the way, of course what we thought would be a simple “chasing out a few cracks and plastering” turned into a nightmare. It will most likely need a skim coat now, not to be done by us as we are not master plasterers. We found out that it’s not so easy to find hardcore plaster supplies in this neck of the woods (Beacon). Must be something to do with the renovation vs. restoration thing. Crappy new sheetrock for everyone!

4301697384_a57033824f.jpg

4301694486_39e1ea4569.jpg

PS: How much do I love my new scaffolding?

Wallpaper, Vintage Goodies and Rain

Wallpaper, Vintage Goodies and Rain published on

rain.jpg

Neighbor Stacey of Amazulu was prepared for rain

We experienced sun yesterday morning for the very first time at the Brooklyn Flea. The double wide experiment was doing quite well and we were on a roll. And then the heavens opened up. And the afternoon was a wash out. At least we got rid of some big pieces so we didn’t have much to load up in the rain.

fdr.jpg

I did get to walk around while the weather was nice. FDR to JFK (no website), booth B14 had some very cool, kitsch vintage wares. Colorful, fun little goodies. They are there every week.

wallpaper.jpg

Designer Jill Malek was there with her beautiful-and-not-extremely-expensive hand screened wallpaper. Although they use virgin paper, the inks are recycled! Hey, it’s something. Looks great on the website, but wallpaper is one of those things you have to see in person to appreciate.

Sound Proofing Existing Walls

Sound Proofing Existing Walls published on 4 Comments on Sound Proofing Existing Walls

wall3.jpg

Plain sheetrock

wall.jpg

Living Room detail

We screwed up. We built out an interior wall to hide plumbing and didn’t insulate for sound proofing. D’oh! So now we’re trying to come up with ingenious ways to control noise without ripping out the area in question.

There are a few solutions:

1. Build the wall out more. Use a drywall such as Quiet Rock or insulate and use regular sheetrock. Since we’re terrible at taping, we don’t like this option.

2. Blow in insulation. This isn’t feasible for us as there isn’t enough space between the pipes and the wall.

3. Cover with cork or fabric. Homasote offers both options as well as other sound proof wall materials.

4. Use a paint such as Acousti-Coat, a water based latex formulated with hollow ceramic microspheres, sound absorbing fillers and resins.

5. Build the wall out with ornate plaster (or fake plaster) detail. The most complicated of all options. And guess what? This is probably what we’ll do. Why? The house has alot of period detail which we’ve tried to match on rooms that needed gutting. Our oversight was a blessing. We now have an excuse to take straight edge drywall and make it look fabulous. We may need to use something behind the molding for soundproofing, but hey, it saves us from taping!

6. Put it off until we no longer notice it. Actually, this is our most likely scenario.

Sound Proof Foam

**PS: Sorry about the horrible iphone photos. Didn’t have my camera on me.


Design Your Own Wallpaper

Design Your Own Wallpaper published on

vintage.jpg

Ever want to create your own wallpaper design? Design Your Wall offers the service for a $25-$150 layout fee plus $6.50 per square foot for the paper.

They accept original artwork or digital and will help with any questions you might have. You can get wallpaper, borders or murals printed up from your own images.

You don’t have to print pictures of your puppy dog. Here’s something else to consider. They can also reproduce vintage patterns. They do have a few lovely samples on their site. Or you can do produce your own.

If you’re buying all that newly manufactured wallpaper, you can alleviate some eco-guilt by created your own green paste for the job.

Sustainable Wallpaper

Sustainable Wallpaper published on 1 Comment on Sustainable Wallpaper

grahambrown.jpg

In doing a search for recycled wallpaper I came upon Graham & Brown. The paper isn’t 100% recycled but I prefer their collections to some of the “greener” stuff out there.

Approximately 50% of an average roll of Graham & Brown wallpaper is made from renewable resources. If not recycled, the paper comes from FSC managed forests.

Recycled rainwater and a state-of-the-art drainage system is used in production. The company also uses non-acidic inks & coatings. Pollution is burned off on site and used for energy to run the plant.

Prices seem to average about $40 per roll. Retailers include Lowes and Janovic.


Primary Sidebar