Skip to content

Do You…Pinterest?

Do You…Pinterest? published on

Dalyan, Turkey  from “Favorite Places & Spaces

Pinterest has been a great source of design ideas, techniques and blog topics for the past couple of years. If you’re looking for a way to pass the time, this is it! Check out Reclaimed Home on Pinterest. I don’t do it all that often, but when I do, I’d like to think that I’m repinning some wonderful stuff.

Such as:

Pink shagadelic bathroom from “Hollywood Regency

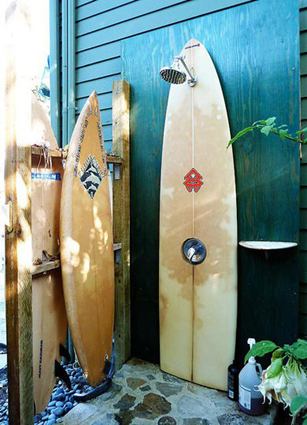
Surfboard shower from “Beach House Style

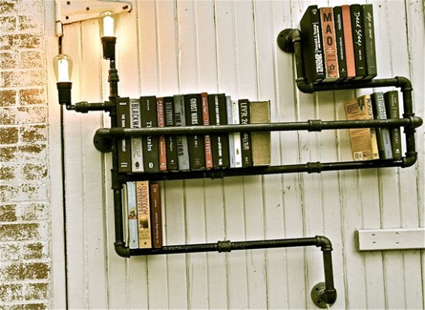
Piping bookshelf from “Salvage Style

Accessorizing with Stencils

Accessorizing with Stencils published on 1 Comment on Accessorizing with Stencils

stencil2

I always think of stenciling as a finishing touch to dress up a home after the renovation is complete. After having some setbacks in the house that I’m waiting on for repairs, I found myself there yesterday with nothing to do, so I decided to get to some of those finishing touches.

There’s the correct way to stencil and then there’s my way. Since I was anxious to get something done without running to the store to get more supplies, guess which way I did it?

To stencil properly, you should have the following materials on hand.

1. Paint & Stencil. Duh.
2. Stencil brush
3. Blue masking tape
4. Pencil
5. Tape measure
6. Level
7. Paper towel
8. Water or denatured alcohol
9. Stencil adhesive

If you don’t have these items on hand, you can do what I do and use your fingers and a foam roller.

1. Have your base coat down and have the stencil paint on hand. You may use as many colors as your little heart desires.

2. Measure out where to start and the distance between stencils. You’ll most likely be using the same stencil over and over. That’s where the pencil comes in but you can also mask off where it will go. Personally, I like to get this step over with so I can just paint my stencil, but you can stop and measure/level each time. Whatev. Up to you.

3. The spray adhesive will keep the stencil in place. If not on hand (I’ve never had it on hand.) you can tape the stencil but honestly, it pops up and if you’re sloppy like me, there will be some touch up. That’s where your fingers come in. You have to hold it down and you’re literally painting your fingers.

4. Dip the stencil brush or foam in paint and dab it off on a paper towel. You don’t want too much paint.

5. Stipple the brush into the cut outs. Do not, repeat: do not use strokes or it will bleed underneath the stencil. Been there, done that.

6. Carefully remove it without smudging the paint all over.

7. Take off the tape, blah, blah, blah. Beautiful, huh?

8. Repeat over and over again, cleaning the paint off the stencil each time.

9. Touch up with small brush as needed. If it looks perfect, well la-di-da….aren’t you superior?

stencil1

The stencil you’re looking at has dressed up a boring newly sheetrocked archway between rooms. After the setbacks, it made me feel a bit better about the house. She cleans up real nice.

Curb Appeal: Window Boxes

Curb Appeal: Window Boxes published on 1 Comment on Curb Appeal: Window Boxes

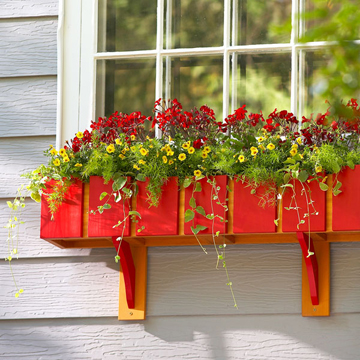
How do you accessorize the front of your house for not a lot of money? Well, window boxes would be a good start! The bright box shown above has a DIY tutorial on the Lowe’s website.

I like this interchangeable plant idea because you can never get bored. Stephanie Lynn lists ten window box DIY project plans in her post!

The Polished Pebble posted Pottery Barn planters. Pleasantly pretty.

It’s not all about the box. For folks like me who can’t maintain live plants, this is a great idea! Bottle holder window box. Personally, I’d make sure those bottles are secure in there, knowwhatimsayin?

Who says you even need a real window? This reclaimed wood window box is for sale from Aunt Debbie’s Country Store for 24 bucks. For that price, I wouldn’t even bother taking the time to make it myself. Just order it.

Built-In Corner Closet

Built-In Corner Closet published on 2 Comments on Built-In Corner Closet

IMG_0385

First of all, please excuse my inferior quality iPhone image. Ok, now that that’s out of the way, this corner built in closet is in FDR’s home in Hyde Park, NY.

There are built-ins that take up entire walls or a good portion of the room but this corner design would fit nicely in a small room. Looks easy enough to build from scratch (for a carpenter, not moi) but I’m wondering if one can come up with the perfect salvaged materials to do this. It’s game on for me because I have some tiny bedrooms in the new house and I think I wanna go with the corner thang.

Shower Stalls

Shower Stalls published on 2 Comments on Shower Stalls

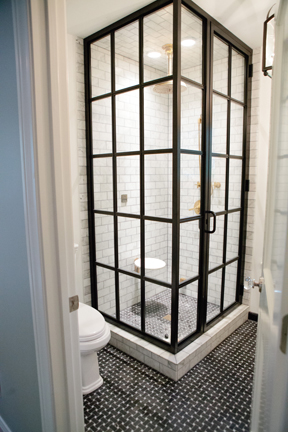
Love these “French” shower doors from Peppermint Bliss. She didn’t say where she got them from but word on the street is that you can use factory windows to achieve this look (which is probably what is shown in the picture).

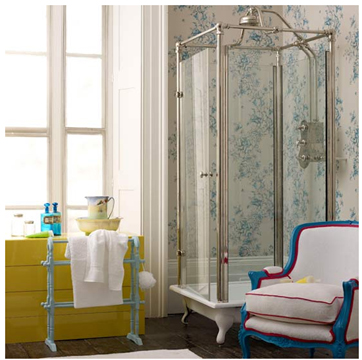
Clawfoot shower base with new chrome “antique” enclosure. Via Little Green Notebook.

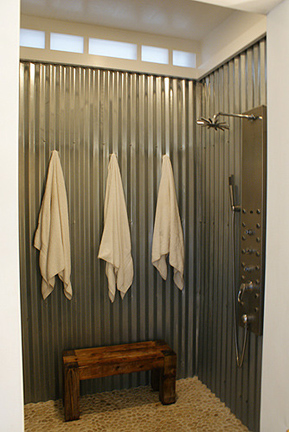
Corrugated metal is showing up everywhere these days. Via Apartment Therapy.

These reclaimed windows are a nice concept but you would want to seal them up before using them in your shower. Via Apartment Therapy.

Refacing Furniture

Refacing Furniture published on 2 Comments on Refacing Furniture

Hey kids! Here are more ways to save those pieces of furniture from the landfills. Plus, your friends will envy you for your kick-ass creations!

Idea #1: Plaster some vintage signs on that sh*t.

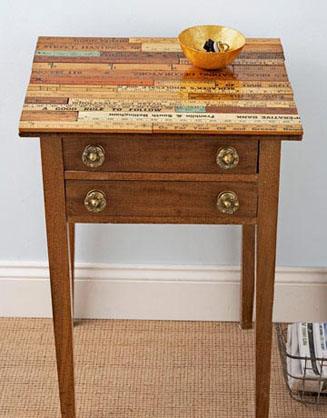
Idea #2: Old rulers and yard sticks! I’ve made frames and small pieces from rulers but never thought to do an entire surface. Pretty cool.
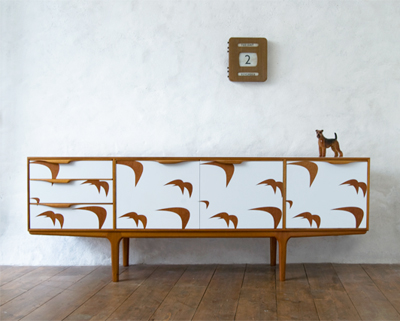
Idea #3: Laminate. Gorgeous laminate. I wouldn’t even know where to find stuff like that.

Idea #4: Got time on your hands? Bottle cap it.

Decorating Doors

Decorating Doors published on

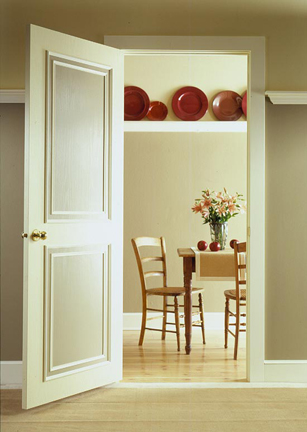
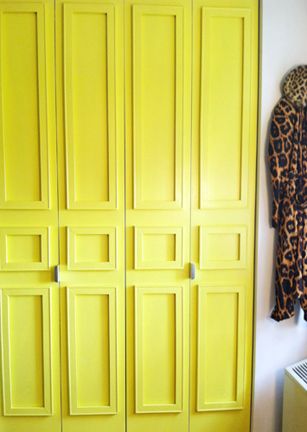
Got a bunch of plain doors you don’t really want to replace? Fancy them up instead of removing them. Start with a colorful paint and some antique hardware and go crazy with other techniques.

Ok, so the door above is actually a beautiful antique door to begin with but you can use chalkboard paint on any door. Mount an old frame or some molding around the chalkboard.

Create your own panel door. Do as many panels as you like. Whatever width of molding you want. Personally, I find mitering to perfection a bit difficult, but the good news is that there are ways to cheat.

This is a great fake-out. That door just has painted panels. No carpentry involved! Oh my, it doesn’t get any easier than that.

These panels were made from pre-cut artist stretchers that interlock. Miter schmiter.

Don’t forget that any of these techniques can be used on kitchen cabinet doors as well.

Look Up! Beautiful Ceilings

Look Up! Beautiful Ceilings published on 6 Comments on Look Up! Beautiful Ceilings

ceiling

Can’t wait to find out what’s under those drop ceilings in the new home! My guess is a bunch of moldy, crumbling plaster. Ever work on a ceiling before? It’s a pain in the neck. Literally. So, I’ve been looking for alternatives to plain old plastering or sheetrocking. If I’m going to have to go through that, it might as well look fabulous.

I was standing at the Museum of Natural History over the weekend when I looked up and saw the gawgeous paneled ceiling above. Lots of work, for sure. Worth it? Of course! Especially if you can paint the molding before it goes up. I even found a place called Fantastic Finish where I can cheat and order pre-assembled kits. Not that I would do that of course, because budget, budget, budget!

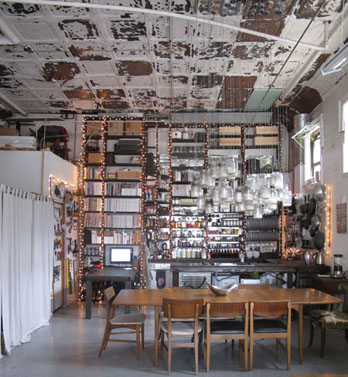
Who doesn’t love an antique tin ceiling? Personally, I’m loving the chippy paint look but I don’t think I’d be able to get away with it in a new renovation. Perhaps a small section of the house…a bathroom, mayyyybe. But it would have to be sealed anyway, because as we all know, any paint prior to 1978 contains lead.

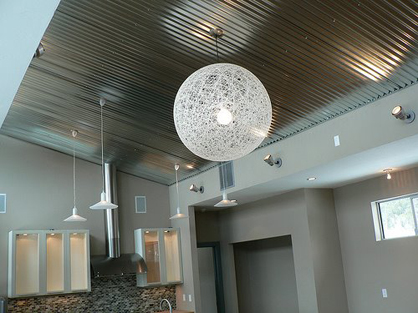
Here’s a modern take on the traditional tin ceiling. For me, it’s going to come down to whatever I can find at the salvage shops.

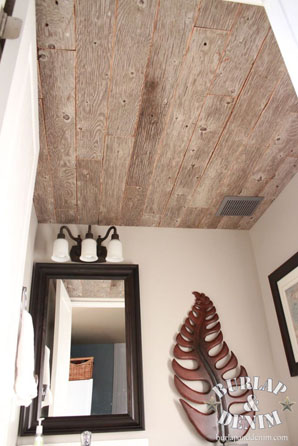
Reclaimed wood ceilings may look a bit dark around the entire house but they can always be painted to brighten them up. The photo above is actually weathered plywood cut into strips. That stroke of genius is from Burlap and Denim.

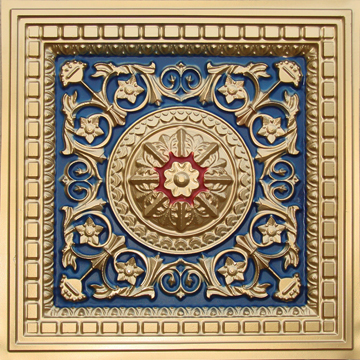
Drop ceilings have come a long way since the 1970’s. The tile above is from a company that does PVC drop ceiling tiles. They aren’t cheap and you’ve gotta have lots of time on your hands to paint each tile to look like that, but I’m just throwin’ around ideas here.

Groovy Stairs

Groovy Stairs published on

Howzabout some ideas to spice up those steps? These can be done without rebuilding your whole staircase.

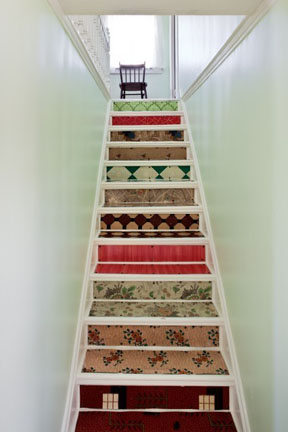
Lovin’ the vintage linoleum stairs but it’s hard to come by real vintage lino these days.

Soda crates! Or choose any kind of crate you can get your hands on. Notice how they just inserted the reclaimed treads in the middle without messing with the bannister?

These are actually porcelain tile. They fooled me. I thought it was stained or faux painted wood. The Italian tiles are awesome but they may be pricey and hard to come by. Nothing wrong with using the real thing. Just sand and stain.

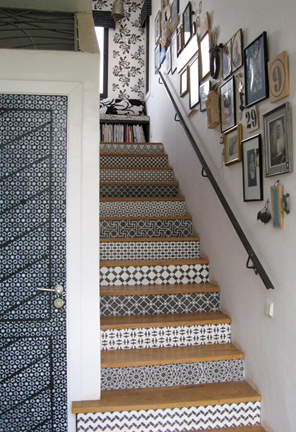
Oy. That seems like a ton of work. Not to worry. Cut the risers and stencil them on a table BEFORE installation. Still a ton of work but at least you won’t break you’re neck.

Primary Sidebar