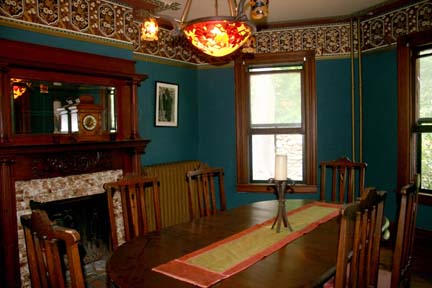
Before: Quick Snap
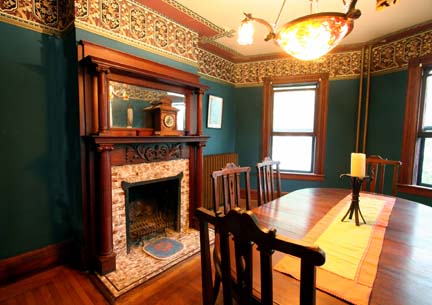
Tripod with Wide Angle. Focal point is the fireplace, not dining room table.
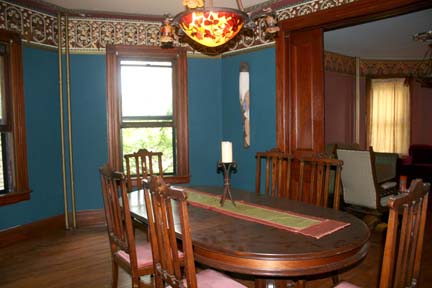
Before: Quick Snap
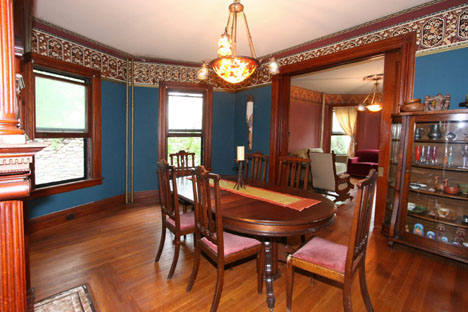
Tripod with Wide Angle. Polished table and opened curtains.
Hit Me With Your Best Shot
Since this site will be focusing on DIY, I realized that some industry professionals may accuse me of putting their livelihoods in jeopardy. To be fair, the first DIY tip I’m offering is that of my own profession: photography.
Before you even think of whipping out your camera, prepare your subject. Make sure you clear away clutter, make your bed, close toilet lids.
You’ll need proper camera equipment. If you don’t own any, you can rent at Alkit, Adorama, Calumet or Fotocare to name a few. Make sure you have a camera that is capable of manual exposures. You’ll also want a wide lens on this baby. There’s nothing I hate to see more than a photo of someone’s furniture because the lens wasn’t wide enough to capture the whole room. A tripod is the final key ingredient.
I sometimes light the room, but it’s fine to shoot solely with natural light. Roll up all window shades, open curtains, turn on all lights and set your camera to a slow shutter speed to pick up ambient light. 400 ISO should be sufficient with a tripod. An 8+ F stop should give you enough depth of field. You must read the meter for your exact exposure. If you have an on camera flash, feel free to use it for fill and color balance.
Obviously, you want to focus on the room’s best features: light and detail. I always like to get those window in….with sun shining!
If you shoot large RAW format, you can edit the photos without doing damage to the files. Make all adjustments while the photos are still a large resolution and then change it to a smaller 72 DPI for online viewing.
And there you have it. My trade secrets.
Photos:
B: The focus is on the dining room table. There are burnt out light bulbs. The image is not out of focus, but rather pixelated due to it being worked on at too low a resolution.
A: A wider lens allows us to see the 2 windows in the room. And oh, what’s this? Wood floors! Didn’t see that in the first image! The long exposure, plus fill flash makes the main feature of the room (the mantle) pop.
B1: Hmm, dusty dining room table.
A1: Again, wider lens allows us to see more. Whereas the first image concentrates on the one room (or just the table, really), here we can see the full double parlor in all it’s glory. The second room is lit, bringing it into the photo as well.
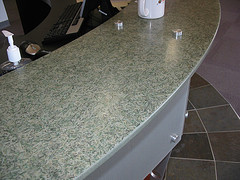
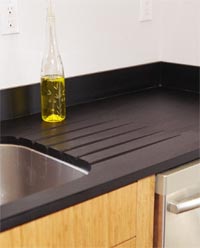 PaperStone
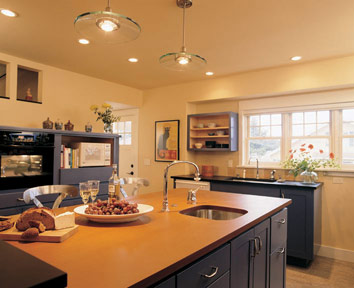 Richlite
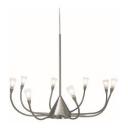
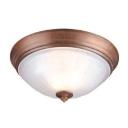 Fugly Nip Light from Home Depot: $49.00
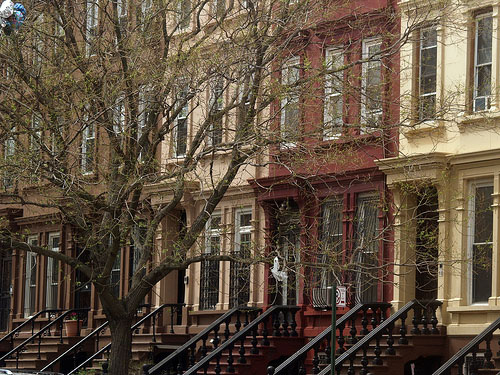



 4BR Victorian: $ 369,000
 3BR Victorian: $ 389,000

