
Disclaimer: We’re not responsible if you fry yourself. This is a summary of what to do. Please click on links for expert advice.
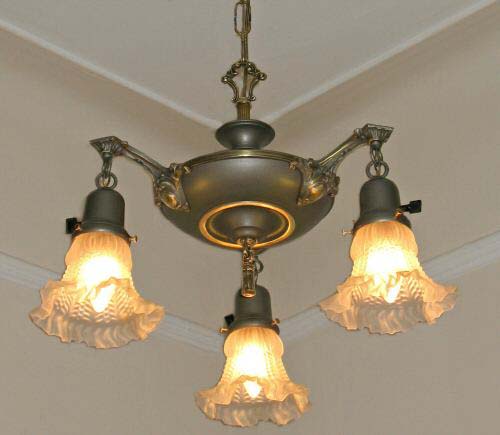
So, you bought yourself an inexpensive, lovely old chandelier from a salvage joint and now you find out that lighting places charge $25 per arm to rewire. Wasn’t that much of a bargain after all, huh? Don’t stress. Rewiring isn’t rocket science.
Tools and Materials You May Need
- Needle-nose pliers
- Screwdrivers (small as well as regular size)
- Lamp wire (Comes in different colors. Keep the fixture color in mind when purchasing.)
- Wire cutter
- Wire stripper
- Wire nuts
- Electrical tape
- Continuity tester
- Sockets (Type depends on fixture. Some antique fixtures may take irregular sockets that need to be special ordered.)
Just Do It
Sit down with your fixture. Take a deep breath. Relax.
Carefully disassemble. Don’t break your irreplaceable glass shades and don’t lose your screws! The fixture may be held together by the finial or screws. To get at the wiring, gently disconnect the sockets from their caps by squeezing or pressing. If you think you might want to use these, test them with a continuity tester. I usually just go for new sockets to be safe. Make sure you don’t take the whole thing apart without remembering where each cord was connected. If you don’t know what you’re doing, it’s a good idea to take this a step at a time.
Replace the old wiring with new lamp cord. For a single-socket fixture, work from the socket up to the mount. For multi socket, feed the cord from above. First mount the socket cap to the fixture, then do the wiring. Connect wires to the socket terminals, route each socket’s cord back through the cap into the fixture. Leave at least 6 inches of wire out of tube and then snap the socket in place. Strip the wires where all cords meet up with the main cord in the body of fixture, then splice with wire nut.
Check with tester before plugging it in. Both for safety and sanity. You don’t want to install fixture only to find out it doesn’t work. D’uh!
How To Resources
Corner Hardware
HGTV
EHow
How Stuff Works
Supplies and Expert Advice
Antique Lamp Supply
Paxton Hardware
Aurora Lampworks
Lamp Doctor
Rt 9 Lamp and Light
2 Comments
One added tip – it is better to connect the hot wire to the center of the socket and the neutral to the outside (the threaded part).
This reduces your chance of a shock if you touch the outside by mistake.
[…] of my very first posts on this site was a how to on rewiring antique light fixtures. As a new blogger, I kind of scrapped together some posts from […]