Skip to content

Home Bars

Home Bars published on

wine-celar-collection

Doesn’t matter if you’re a big drinker or not. Home bars are pretty darn cool. Whether it’s a tiki bar or Mad Men version, what better way to entertain your guests than pretend you’re a bartender?

tiki-bar-at-the-wolfs-lair-in-h

Who needs a tiki bar when you can have an entire tiki room?

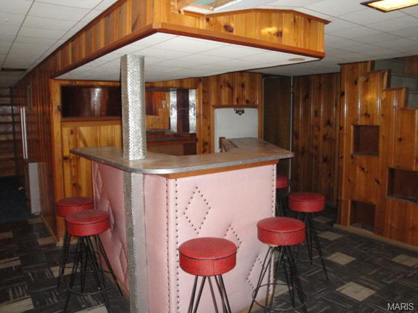
classic_basement_bar

This cute pink bar was in a home for sale in St. Louise, MO. Entire home was listed at $55k.

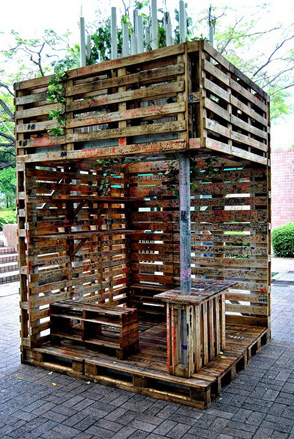
29c263e0fe942c48330d0a42582a57db

Outdoor pallet bar. How much does this cost? Oh yeah, free.

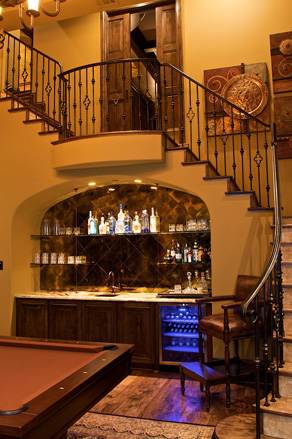
1073c4bd6b7957553ccadaf46aedbd99

Ok, so the house is a bit McMansiony but the idea of putting the bar under the stairs is great. Plus, they have a pool table.

Light Fixture Fetish

Light Fixture Fetish published on

upload

It’s true. I have an addiction to light fixtures. I buy light fixtures like women buy shoes. They go with many designs, they are easy to carry and they won’t make you look fat. Plus, if it’s a bargain, who can resist?

upload

Granted, I’m pretty sure I had enough lighting to cover the whole house, but I picked up three more fixtures yesterday at Vaccaro’s. Although the entire renovation is a potpourri of salvaged styles, the lighting is decidedly tole. I suppose I’m trying to achieve a kitsch bungalow look. I did buy some deco sconces and gothic chandeliers for good measure. Can’t be too consistent! It would get boring.

All lights need to be cleaned, painted and rewired. What fun would it be if I couldn’t work on them?

upload

Tiny Kitchens

Tiny Kitchens published on

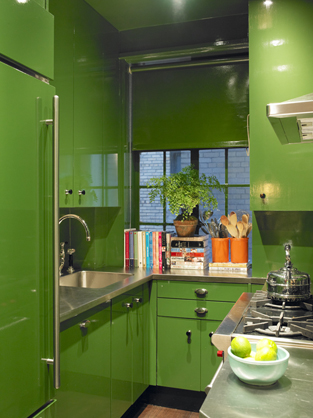
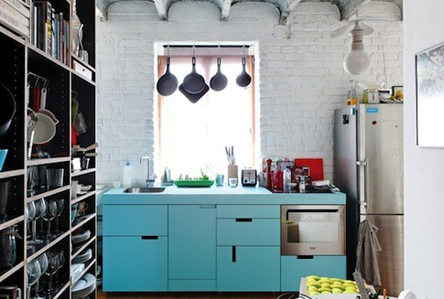
No space? No problem! There are some awesome design for tiny kitchens. The lime green tiny kitchen above was designed by Miles Redd right here in New York! It’s both functional and wayyyy cool.

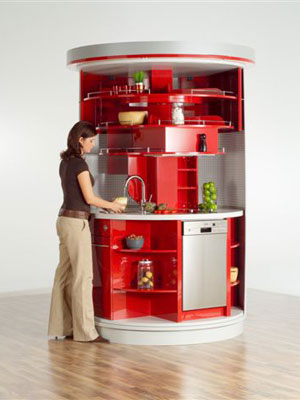
This circular kitchen by Compact-Concepts sort of looks like a public restroom when the doors are closed. (Note to self: Public restroom in home would be kind of suh-weet.) The German company doesn’t seem to have a dealer here in the US.

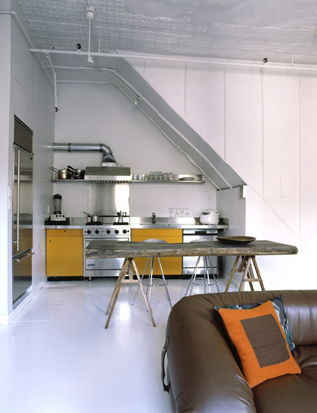
Under the stairs. Of course, there are no cabinets so you would probably be ordering lots of take out. Fine by me! Via Pinterest.

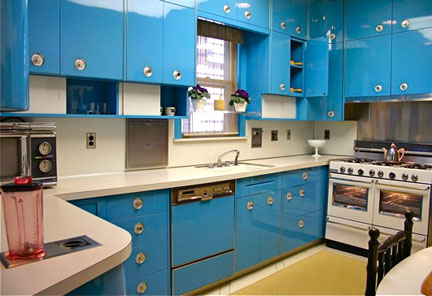
Via Apartment Therapy.  I don’t care if it’s functional or not. It’s turquoise.

Accessorizing with Stencils

Accessorizing with Stencils published on 1 Comment on Accessorizing with Stencils

stencil2

I always think of stenciling as a finishing touch to dress up a home after the renovation is complete. After having some setbacks in the house that I’m waiting on for repairs, I found myself there yesterday with nothing to do, so I decided to get to some of those finishing touches.

There’s the correct way to stencil and then there’s my way. Since I was anxious to get something done without running to the store to get more supplies, guess which way I did it?

To stencil properly, you should have the following materials on hand.

1. Paint & Stencil. Duh.
2. Stencil brush
3. Blue masking tape
4. Pencil
5. Tape measure
6. Level
7. Paper towel
8. Water or denatured alcohol
9. Stencil adhesive

If you don’t have these items on hand, you can do what I do and use your fingers and a foam roller.

1. Have your base coat down and have the stencil paint on hand. You may use as many colors as your little heart desires.

2. Measure out where to start and the distance between stencils. You’ll most likely be using the same stencil over and over. That’s where the pencil comes in but you can also mask off where it will go. Personally, I like to get this step over with so I can just paint my stencil, but you can stop and measure/level each time. Whatev. Up to you.

3. The spray adhesive will keep the stencil in place. If not on hand (I’ve never had it on hand.) you can tape the stencil but honestly, it pops up and if you’re sloppy like me, there will be some touch up. That’s where your fingers come in. You have to hold it down and you’re literally painting your fingers.

4. Dip the stencil brush or foam in paint and dab it off on a paper towel. You don’t want too much paint.

5. Stipple the brush into the cut outs. Do not, repeat: do not use strokes or it will bleed underneath the stencil. Been there, done that.

6. Carefully remove it without smudging the paint all over.

7. Take off the tape, blah, blah, blah. Beautiful, huh?

8. Repeat over and over again, cleaning the paint off the stencil each time.

9. Touch up with small brush as needed. If it looks perfect, well la-di-da….aren’t you superior?

stencil1

The stencil you’re looking at has dressed up a boring newly sheetrocked archway between rooms. After the setbacks, it made me feel a bit better about the house. She cleans up real nice.

Color!

Color! published on 1 Comment on Color!

IMG_1900

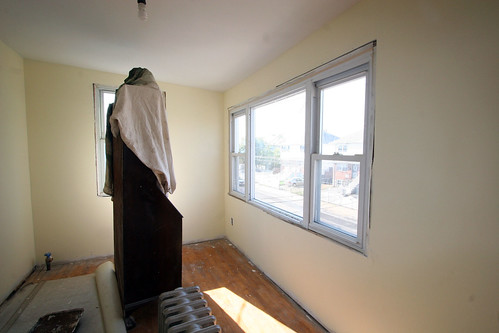
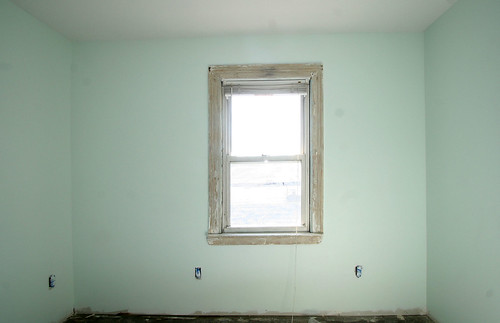
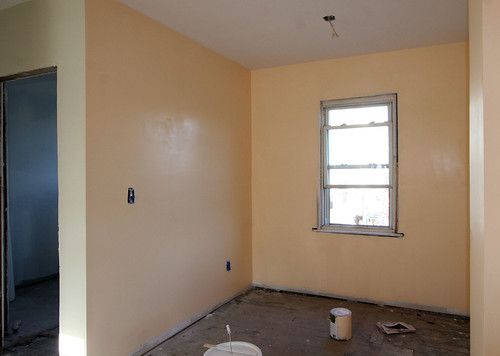
After suffering through the endless demo, sheetrock, taping and mudding, I finally got some color on the walls. Personally, I prefer rich jewel tones but since I’ll be trying to sell the house, I went with a lighter palette.

IMG_1906

So, my lighter palette choices don’t translate into “safe”. I couldn’t bear the thought of using white. I tried to go with “beach housey pastel” but as you can see, some of the walls are more reminiscent of desserts. Mmm, mint chocolate chip and orange sorbet…..

IMG_1898

IMG_1897

Curb Appeal: Window Boxes

Curb Appeal: Window Boxes published on 1 Comment on Curb Appeal: Window Boxes

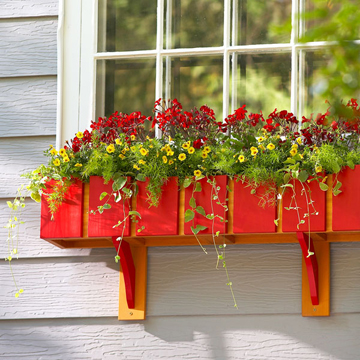
How do you accessorize the front of your house for not a lot of money? Well, window boxes would be a good start! The bright box shown above has a DIY tutorial on the Lowe’s website.

I like this interchangeable plant idea because you can never get bored. Stephanie Lynn lists ten window box DIY project plans in her post!

The Polished Pebble posted Pottery Barn planters. Pleasantly pretty.

It’s not all about the box. For folks like me who can’t maintain live plants, this is a great idea! Bottle holder window box. Personally, I’d make sure those bottles are secure in there, knowwhatimsayin?

Who says you even need a real window? This reclaimed wood window box is for sale from Aunt Debbie’s Country Store for 24 bucks. For that price, I wouldn’t even bother taking the time to make it myself. Just order it.

Curb Appeal:Fences

Curb Appeal:Fences published on 2 Comments on Curb Appeal:Fences

Your typical black picket fence.
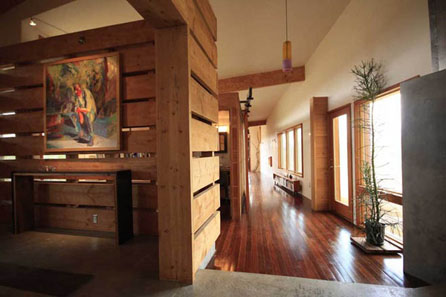
Looks like a pain in the arse to build but it’s gawgeous!

This is very modern and sleek, but you can also use reclaimed  discolored slats to give it a more “used” look.
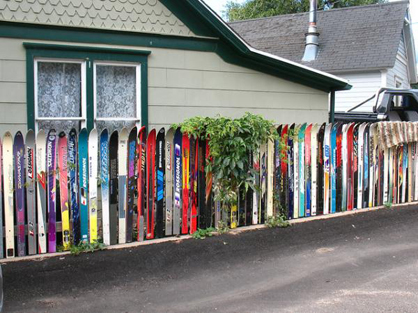
Got some old skis lying around? How about other sports gear?

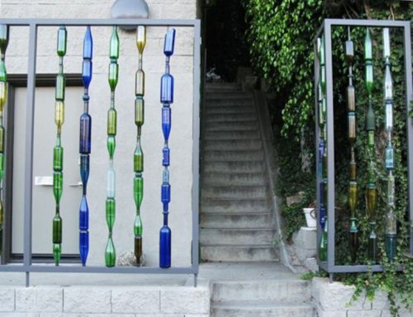
Yes, it’s beautiful and a very cool idea, but how practical is a glass fence?

Primary Sidebar