
Materials:
Level
Pencil
Screw Gun
Tape Measure
Stud Finder
Clamps
3½” long cabinet screws for cabinet to wall
2¼” trim head screw for cabinet to cabinet
*The cabinet is level but the wall isn’t.
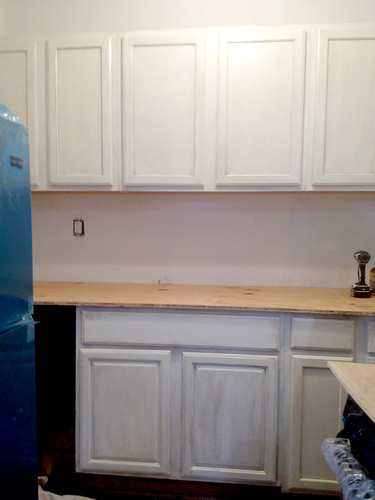
1. Measure. Start from the bottom up. A standard base cabinet including the counter is about 36″ high. You want at least an 18″-20″ backsplash. So we’re talking setting the bottom of the wall cabinet at 56″.
2. Mark it and level. In an ideal world with perfectly level floors, I’d tell ya to measure left, right and center for that 56″ and draw your mark with the level. It’s good to do that anyway, but the level overrides the measurement. For instance, my floor had 1/2″ settlement on the right side so we had to shim up the base cabinets. Unfortunately, because the ceiling isn’t level either and the cabinets are, that slopey ceiling is pretty noticeable, but whatcha gonna do?
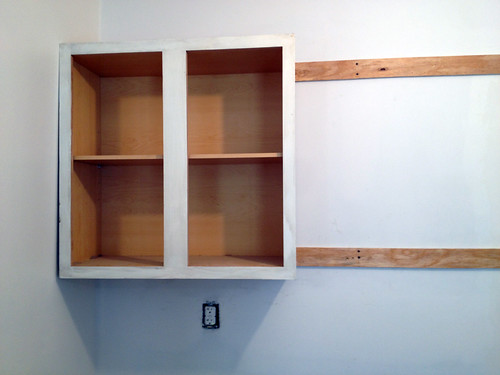
3. Find the studs. Maybe the guys helping you are studs, but I mean the ones in the wall. You can buy an electronic stud finder but they don’t always work 100%. If the walls are sheetrock, it’s sometimes possible to see screws and tape if there isn’t tons of paint. Also look for the outlets as they are usually screwed into a stud at the side. If all else fails, knock on the wall. Studs should be 16″ apart so if you find one, there is a good chance you can measure 16″ for the next one. Our crazy house was 24″ so we had to add extra support.
4. *Adding support* You need to take this step if your studs are too far apart. What we did was take two strips of plywood cut about 2″ wide and screw them into the length of the wall. Make sure they are fully secured to the studs. Now these strips will take the weight of the cabinets along with the studs.
5. Hang the cabinets. There are two ways to go about this. First way is to screw in a temporary ledger board just under the level line so you can rest the cabinets on it as you’re about to screw them in. Take the first two cabinets and screw them together. You’ll want to clamp the front of them together and make sure they are plumb and level. The second way only works if you have more than two people. Forget the board and hang one cabinet at a time, leveling and plumbing them up as you hang them. I say three people because it will take one to screw the cabinet and two to hold it up and check the level.
A few tips. It’s a good idea to pre-drill holes. Make sure to secure the cabinets at the thickest point. I hope you’re not trying to do this with the doors still on. I also hope you know that you should do the wall cabinets before the base.
6. Base cabinets. Well, this is a breeze since you don’t have to hold them up over your head. As mentioned earlier, not all floors are level so let’s assume yours is not. Start from the highest point to make your level mark and then you can always shim up. You’re pretty much going to follow the same directions as the upper cabinets. Just keep in mind that your sink base needs to be aligned with the plumbing and holes should be drilled before you install. (Duh)
Good luck!