Skip to content

When Cats Go Bad

When Cats Go Bad published on 10 Comments on When Cats Go Bad

 3469625898_74b5880e88.jpg

If only the internet had smellorama

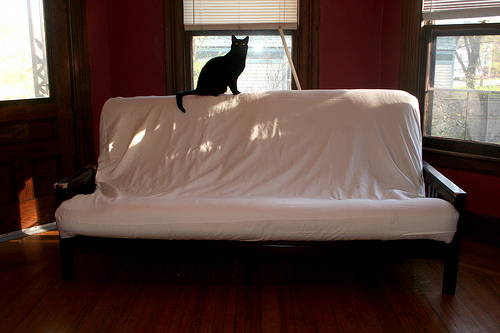
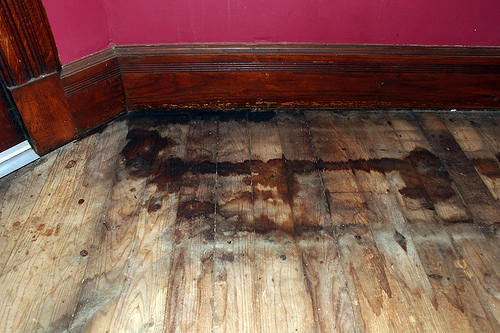
We have six cats, three of whom have chronic urinary infections. They are on special diets for the rest of their lives and they’re happy enough. The problem is, they just. won’t. use. the. litterbox. Hence, we have the Cat Pee House.

As we’ve done with renovations past, (we’ve always had a multiple cat household) we will embark on getting rid of the pee smell this week. That means nothing less than ripping up the floor.

Don’t be sad for us. If the floor was in salvageable condition, we wouldn’t have let it get this far. She was a great old floor, she was. Old long strips, probably installed around the 40’s or earlier. But there wasn’t any life left in her. She was sanded so many times that the tongue and grooves were starting to show. She didn’t have another sanding left in her.

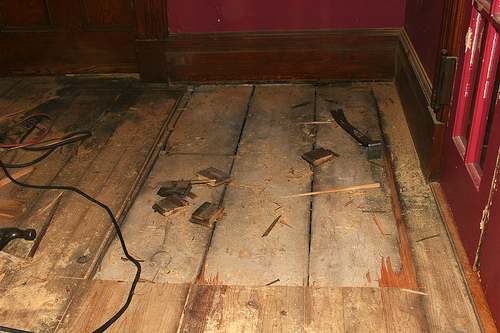
And so we took up the floor. Then discovered the subfloor was destroyed. Ok, now you can start feeling bad for us. That looked to be in decent shape in some areas, but we’re not sure all the damage was caused by our cats. We left the original lower subfloor in, even though it got hit with the pee too.

So, here’s the plan….

This is a temporary solution until we rebuild the garage, adding a causeway to the house. That will be the new cat friendly area. At the rate things are going, all of our cats will be dead by then and we just may be also.

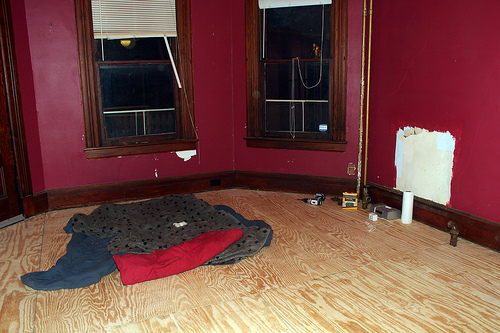
Anyway, plywood. That’s it. We put down tar paper underneath to protect the already peed on subfloor. This week I’ll be caulking, painting and sealing it. And of course, why not repair plaster and paint the entire room while I’m at it?

As with past deadlines, there’s a reason we’re rushing to do this now. Ah, the old house guests! The only time we ever finish projects. So this week, this blog will look like a real “renovation blog” as I chart my progress. Because I won’t have time to come up with any other kind of post.

* Follow this on Twitter.

3542259582_0208160684.jpg

This isn’t all cat pee. We soaked it in Nature’s Miracle before deciding to tear it out anyway.

3541453355_80b073d279.jpg

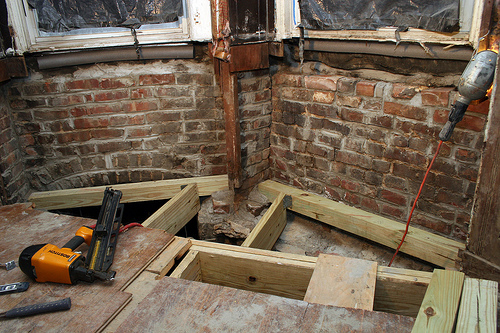
Revealing the sub sub floor

3542260808_2bd523fa8e.jpg

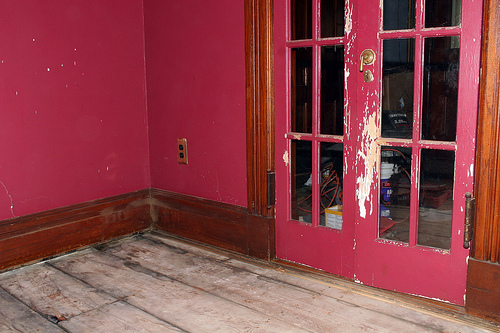
The dogs were mostly responsible for the damaged door.

3541454207_c0b9801967.jpg

It took us an entire weekend (hubby alone on Saturday) to rip up 2 layers of flooring and install plywood. 

3542261094_a46bac75ca.jpg

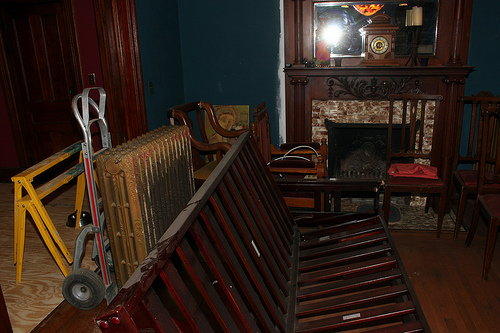
Everything is in the dining room now. Including the dust.

Renovation To Do List

Renovation To Do List published on 2 Comments on Renovation To Do List

 3336280492_83b4668d3e.jpg

Make hole in floor go away. Check.

I’m trying to get some real work done today (like the type of work I make money from) and I have writer’s block, so to feed 2 birds with one scone, I’m just printing my renovation to do list for all the world to see. My mom booked her summer visit for July and our goal is to have our Bed Stuy apartment finished before then. And have Beacon somewhat under control by Memorial Day weekend.

Bed Stuy

1. Desmond the Floor Guy coming to save the day.
2. Glue missing wainscoting in place (Hubby)
3. Sand all wainscotting (me)
4. Finish plaster repair (me)
5. Replace rotten window trim, molding (Hubby)
6. Hook up radiators (Hubby)
7. Radiator covers and salvaged marble window sill (Both)
8. Paint entire room (me)
9. Paint shutters (me)
10. Install said shutters (Hubby)
11. Strip and finish front doors. (me)
12. Hang doors (Hubby)
13. Resin counter top for kitchenette sink (me or Emilia)
14. Paint sink cabinet (me)
15. Hang light fixture (Hubby)
16. Get some furniture in there! (Both)

That’s just the apartment. Massive work needs to be done on the front and back exterior. Stoop needs total repair and the pitch of the ground needs to be changed in the back to keep water away from house. Fun stuff!

Beacon

1. Finish nightmare porch project (Both)
2. Rip up pet den floor and install sanded plywood (Both)
3. Decorative paint on plywood floor (me)
4. Seal floor with gymnasium quality poly (me)

That’s just to make it safe and unsmelly for weekend guests. The bigger picture means skim coating the dining room, painting the entire exterior, rebuilding the garage, updating and maybe extending the kitchen, redo 2 bathrooms and dealing with a damp basement.

Oh, and I better remind Hubby before winter to finish that zoned heating project he started.

Renovation: Things To Be Thankful For

Renovation: Things To Be Thankful For published on 5 Comments on Renovation: Things To Be Thankful For

 3450126240_46153ca53f.jpg

There’s always something. If it’s not one thing it’s another. Either your toilet has sprung a leak or it won’t flush.

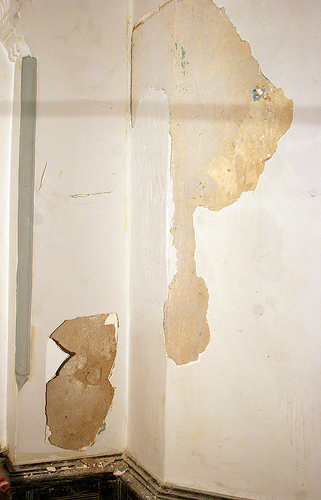
All I wanted to do was chase some cracks yesterday. Did I want to take the all the plaster down to the scratch coat? No! But the plaster had something else in mind. What really sucks is that I’m terrible at plastering. Not my forte. So this is going to be a project. Nah, it’s not. Because I’m just gonna get it done and not worry how it looks or how long it will last. Sorry, but I’m tired of living in the bed room already.

3449311361_361f0fa207.jpg

So, it got me thinking. “Phyllis”, I said, “Life is too short to sweat the small stuff.” Here’s a list of things that we should be thankful for.

1. All the plaster came down?

Hey, at least it didn’t come off down to the lath.

2. Your roof leaks?

At least you have a roof over your head.

3. Noisy heating pipes?

You’re warm, aren’t you?

4. Your bathtub is clogged?

People bathe in the Ganges. Deal with it.

5. Front door hanging of the hinges?

Ok, you should really fix that sh*t before you get broken into. But the good news is, it’s an easy 1 day job.

6. Paint peeling?

Oh, come on. It’s just paint. Please see plaster photos.

7. Frozen pipe burst?

Well, you’ve learned a valuable lesson here. Turn off water to hose in winter and insulate your pipes.

8. You’ve discovered wood rot when taken up a floor?

Good thing you uncovered it so it can be dealt with!

9. Boiler died, huh?

Well, that sucks. But you’ll get much better energy efficiency with your replacement boiler.

10.Your cats pee everywhere but the litterbox and your house stinks?

I do love them. I do love them. I do love them.

Got any of your own? Come on, share!

Categories

Replacing Tongue and Groove Sections

Replacing Tongue and Groove Sections published on 2 Comments on Replacing Tongue and Groove Sections


The previous water damage to the front of the house (and the back, but that’s finished) rotted the floor about 5 feet into our living room. We want to rescue the tongue and groove flooring, but need to replace the front pieces. Here’s our first DIY video. Sort of unedited. Director’s cut. I know, I know….very professional and informative.

Categories

Front Porch/Back Porch Works in Progress

Front Porch/Back Porch Works in Progress published on 4 Comments on Front Porch/Back Porch Works in Progress

 3416008145_e97deec49e.jpg

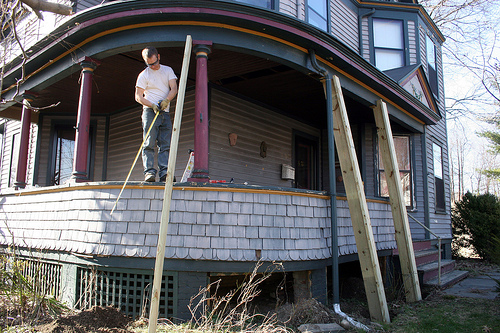
While I was off gallivanting around the flea market on Sunday, the husband was hard at work on the front porch. The thing is a mess and needs some serious structural care. We took out work permits nearly two years ago when we started ripping it apart and they’ll be expiring this July.

3416816836_770e2e24dd.jpg

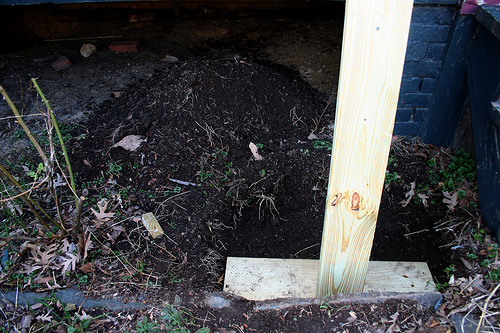
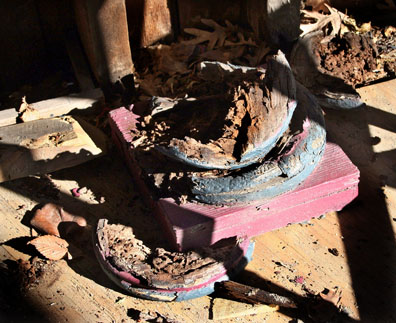
What needs to be done, you ask? Um, well, I guess the whole thing is getting rebuilt. New foundation needs to be poured, the columns were collapsing due to foundation and wood rot, floor joists should be repaired and leveled and did I mention wood rot? New deck flooring. The staircase and bannister will be replaced, the shingles will be taken down and ballusters will be put in to open up the area. Then we’re going to screen off the area on the side so the pets can participate in the fun.

3416817162_23fc16d13d_b.jpg

All this before we paint the exterior of the house by autumn. Think we’re delusional to expect it will get done this year? Yeah, you’re right. Who am I trying to kid?

What hubby did this weekend was more demolition and some temporary support of the roof so it doesn’t collapse. Our house looks lovely from the street right about now.

3416004805_24fd50f7b2.jpg

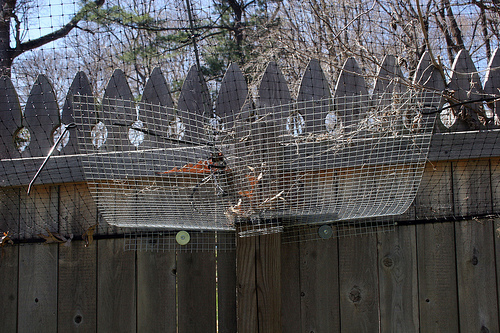
But our real handy work was on the back porch! See, I don’t trust the cats to stay outside on their own for too long without adult supervision. One of them eventually chews his way through the fence in system. Plus there’s the matter of all those birds, snakes and rodents I’ve had to save.

3416005695_327cf31dd8.jpg

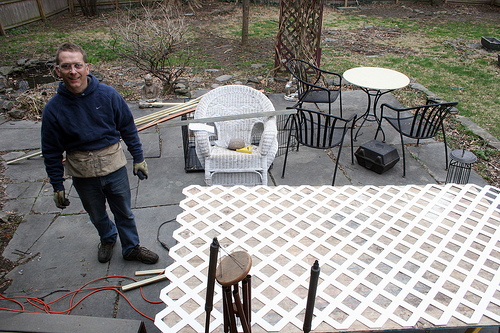
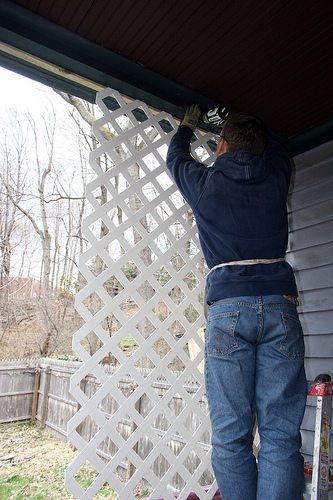
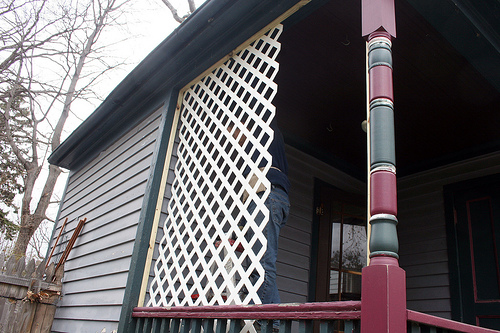
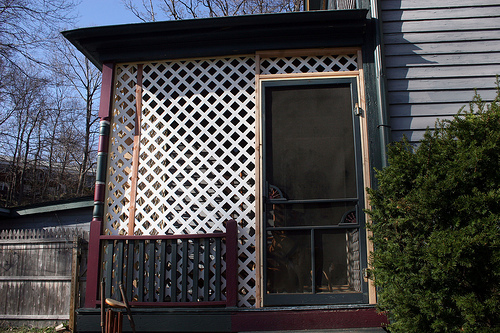
We’ll be ripping up the floor in the “cat den” and they’ll all need a place to stay for at least a week (or a year, considering how long it takes us to do things). The kitchen isn’t quite enough space, but it does lead out to the back porch. So we made a temporary safe haven for them while the work is being done.

3416813600_02df9f48e6.jpg

The original idea was chicken wire. But then I came up with the lattice screen figuring it would be easier to install and look less prisonish. When we got to Home Depot and saw the plastic shit that we didn’t have to paint….well the rest is White Trash history!

Our lovely WT porch enclosure goes really well with our lifestyle, including the front porch, 3 cars in the driveway, dog poop in the yard and piles of broken furniture in the dilapidated garage. Yee-haw! Y’all come back now, y’hear?

3416817524_95710d9014.jpg

Last Call: Creative Reuse Ideas

Last Call: Creative Reuse Ideas published on

 6a00d8341bfe8453ef0105351b166a970c-800wi.jpg

1000 Ideas for Creative Reuse, an upcoming book by Garth Johnson is still accepting submissions for publication through Friday, March 13th.  They’re especially looking for images in the paper, interiors/environments and mancraft/geekcraft categories.

You may submit as many photos as you’d like.  Image size should be at least 1450×1700 pixels.  Make sure you upload (or fax) a signed Grant of Rights form and upload an image list with the title and materials of each piece.

Good luck!

DIY: Making New Look Old Again

DIY: Making New Look Old Again published on 17 Comments on DIY: Making New Look Old Again

 3306941715_a025f712a3.jpg

Author: Emilia

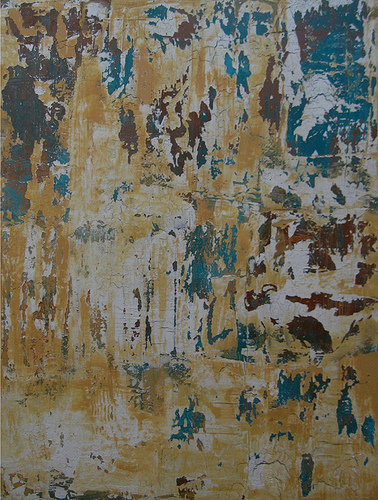
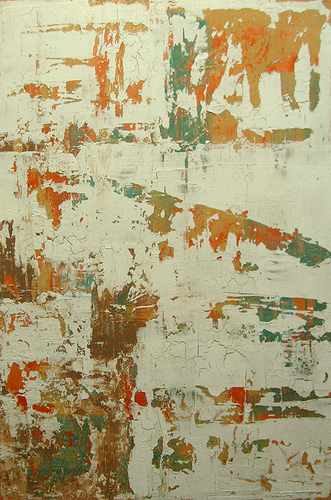
I have been working on doing some distressed wall techniques these last few days. It’s pretty easy and fun, mostly because you can’t go wrong when making something look damaged and aged. The process consists of joint compound, paint and weathered crackle.

3306941795_16528f49a1.jpg

Step 1: Trowel joint compound on wall in sort of a textured manner. Whatever texture you would like it to be. Let it dry.

Step 2: Paint your colors on the dry joint compound. You can use several colors applied to different areas or just one, depending on your taste. Let it Dry

Step 3: Brush on Weather Crackle (I use McCloskey Weathered Crackle Glaze)
Let it dry.

Step 4: Now brush on another color on just some areas and let the crackling begin. You can go wild on this or you can go simple. Let it Dry.

Step 5: Now you can apply now some more weathered crackle. Let it dry.

Step 6: Trowel joint compound in sections of about a square foot. Let it set up so it’s not completely dry yet, but workable. You can tint the joint compound with your top color or you can let it stay the color of the compound which when dry has a cement look.

Step 7: Get some brown craft paper and apply it the square foot of joint compound at a time. Pat down lightly and the peel off. The compound lifts off to reveal the paint underneath. You can put more pressure on the paper or less depending how much of a peel paint effect you want.

Keep repeating step 7 until your wall is complete.

So there you go…hope you can have a chance to try this sometime. Please feel free to ask me any questions or have me do this or another faux paint technique for you. Enjoy!

Emilia

3307771818_9fc4bacdc5.jpg

Categories

Playing with Dolls

Playing with Dolls published on 2 Comments on Playing with Dolls

 3231900289_0d6bd1d8d1_o.jpg

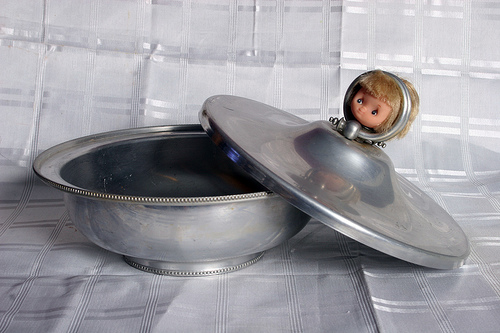
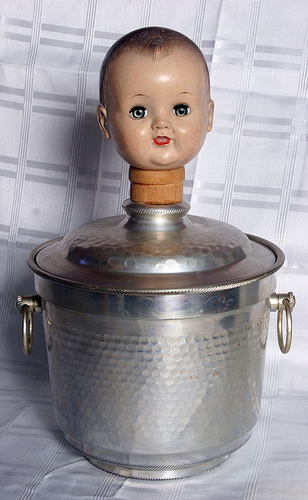
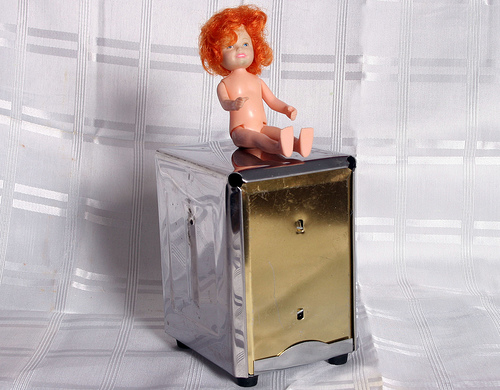
I was looking for vintage doll parts. Now I have so many dolls I don’t know what to do with them all! When I started out this morning, I really wanted to alter the Barbies, but then I realized I had to figure out how to sew to do what I wanted to. So, I skipped that and started with the easy stuff. Drillin’, screwin’ and gluin’.

3231900153_7f9232d4c0.jpg

3231898751_53e94f6163.jpg

Baby needs a collar. I liked the height that the wood added, but I’m not grooving to the wood. If it was a bit shorter…

3231898487_4d4c25bf02.jpg

Nothing like a naked redhead for the table top.

3232747872_4dabe19200.jpg

Painted salvaged parquet tile. Ready to hang.

3231898091_05aa8394dc.jpg

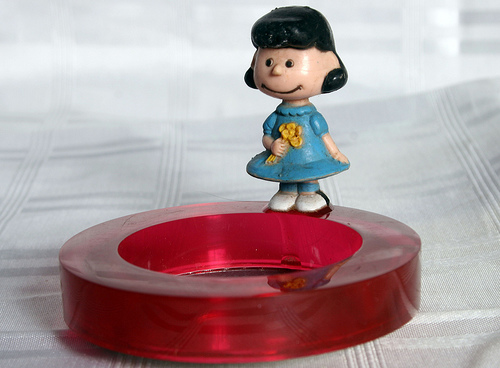
Since I don’t advocate smoking, let’s call this a jewelry holder instead of an ashtray. Actually, it probably shouldn’t be near heat anyway since the sides are plastic.

Plywood + Paint = Great Furniture

Plywood + Paint = Great Furniture published on 6 Comments on Plywood + Paint = Great Furniture

I took yesterday off and went over to my friend Melissa’s house to watch the inauguration. Turns out, she’s a DIY furniture maven. Most of these designs were made from pieces of new plywood, with the exception of the china hutch, which I believe she told me was a curb find.

3214163682_1611a364bc.jpg

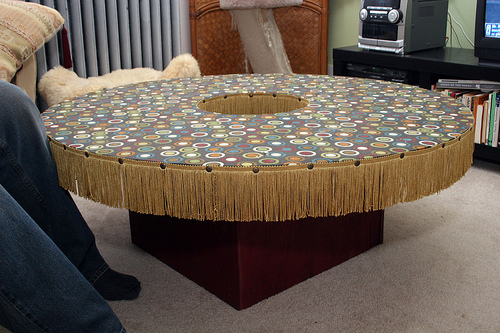
I asked Melissa if this was one of those spools that everyone (well, me) had in their younger days. It’s not. She cut the top from plywood. You can grab one of those spools for a reclaimed version, but they are not one solid piece, so perhaps it wouldn’t work as well. If you put glass over the fabric as Melissa was planning to do, that would take care of the problem of uneven grooves. I love this coffee table!

3213316441_13336643fc.jpg

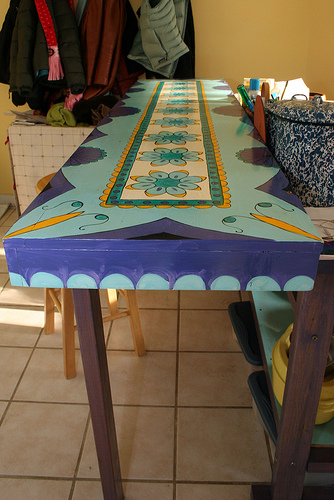
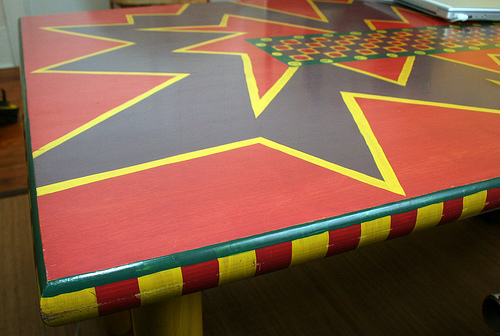
The kitchen counter top, again, just plywood, paint and a bunch of creativity and skills. I forgot to ask whether it’s coated with poly or resin. We all know how expensive counter tops are (Don’t we?). This is a quick, easy, inexpensive solution. Even if you don’t have any painting skills, a solid color with a stencil or tape guided lines could be fabulously gorgeous.

3213316547_65cc2e0a95.jpg

I didn’t ask, but it’s clear that this dining table is better quality wood than ply. With a bit of sanding and routed edges, it looks like a professional piece. You can do anything you want! A game board, an American flag (because I’m so patriotic now), fake place settings….

3214163804_2eea033397.jpg

Melissa’s mom painted this furniture find. At least that’s what I think she said. Too much champagne yesterday. That cat is Melissa’s and she’s now close to 20 years old. Ok, so maybe you need some skills to paint this one. You want images but lack painting skills? Decoupage.

DIY Courses

DIY Courses published on

58.jpg

On February 7th, City Tech will be hosting a series of DIY workshops and demonstrations by building inspector Larry Ubell. Pick up tips on basic carpentry, windows and insulation. $35 for the day in downtown Brooklyn. Register here.

class4.jpg

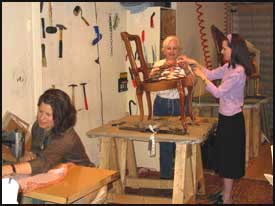
Learn to reupholster your own flea market finds. This is something I MUST look into. I have a garage full of beautiful chairs that I need to bring into this century. The Furniture Joint in downtown Manhattan runs a hands on series for $450. I’ve heard great things about them, but the price scares me. Is there anywhere else?

shopcert.jpg

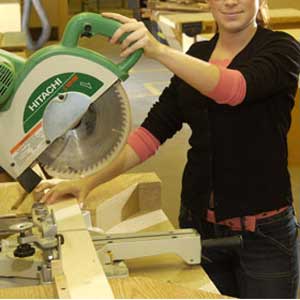
Makeville Studio in Park Slope holds basic woodworking and intro to tool classes. They have some classes going this month and next. Prices start at $140.

Categories

Must. Have. Cement. Floor. Now.
Must. Have. Cement. Floor. Now. published on
 hall-bath-floor.jpg

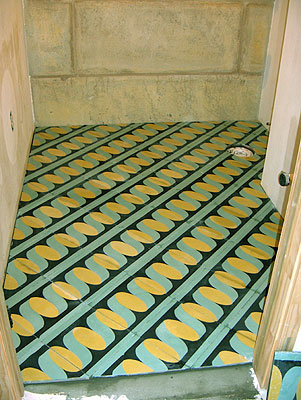
Dayam! Those are some mighty fine looking tiles!

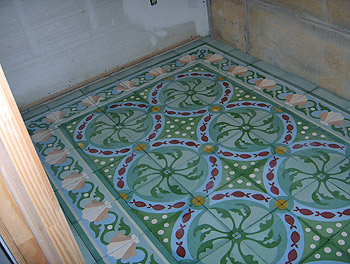
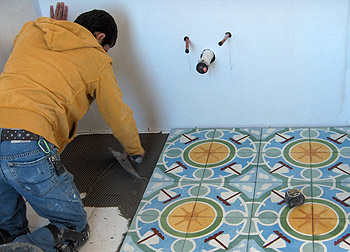
Way back in July of ’08, I did a post on encaustic tile. Fast forward to two days ago when I received a comment from Concrete Cottage on the latest installation photos uploaded to their site.

It’s a great step by step guide for those of you wanting to try this at home. Caution: Grab a tissue to wipe the drool from your keyboard.

office-pescado-caribbean.jpg

tile-under-cabinet.jpg

Everybody’s Working for the Weekend

Everybody’s Working for the Weekend published on 3 Comments on Everybody’s Working for the Weekend

 img_0243.JPG

*Please excuse bad iPhone photos. Forgot the camera.

I take it you all enjoyed your holiday. We didn’t have any major plans so we just ended up working most of the weekend. Got some stuff accomplished, at least.

Yeah, we’re still on the living room in Bed Stuy. Let’s see, what did we get done?

Finished stripping the wainscoting. Yeah! Break out the champagne!

img_0242.JPG

Demolition of the window surround at the front of the house. Years of water damage lead to rotted wood and loss of brick mortar. There’s  much to take care of in this little area, just like the back of the house, which had the same problem on all 4 floors.

There were actually two ongoing problems that caused damage to the house. The gutters were full, causing water to flow directly down the building. We haven’t fixed the second issue yet, but we must before our new work gets destroyed too. The ground pitch in both the front and back of the house leads rainwater to the basement instead of away from the house. Not a fun job, but then none of this is.

img_0241.JPG

Anyway, back to the interior. So, hubby was repointing bricks this weekend. He’ll then replace rotted wood, including old termite damage. Oh yeah, and all the molding, etc. around the windows. All rot. We saved the shutters though. My job is to paint them.

img_0244.JPG

My other job is to paint the “sink cabinet”. It’s going to be gold. Totally against the husband’s wishes, but that’s what happens when he doesn’t pay attention. I told him months ago what my plan was. Now he’s acting shocked. I primed it with an oil base because I want it to last. I also added a yellow tint to the primer because that gold paint takes about a thousand coats. I just learned recently that orange paint or primer under gold is the way to go since it will glow from underneath. The hardware store around the corner only had a peachy orange, so yellow it was.

Since most of this is pretty much stripped and sanded now, my job will be to paint as the husband closes off areas. I know it doesn’t look like it from the photos, but we’re getting there! No, really…we are!

Categories

Exploring Haute Nature

Exploring Haute Nature published on

I stumbled upon Haute Nature yesterday. Maybe I’ve been there before. I don’t know. I have no memory. Anyway, I was like a kid in a candy shop. Check it out….

tile.jpg

These recycled belt tiles from Ting London are both brilliant and beautiful. I personally wouldn’t use them because being a strict vegetarian, I don’t do the leather thing. I know it’s recycled and I’m insane, but maybe I have issues walking on dead animal skin. Bad karma. No, I’m not in therapy. Anyway, the more practical reason I cannot have these is because they cost $75 per square foot.

crate.jpg

Israeli design student Naty Moskovich makes furniture out of these plastic crates. I absolutely love it even though it sends me back to my starving artist days. This was totally how my house was furnished! Ikea? Couldn’t even afford that. Actually, I’m so old, I don’t think was even in the USA yet.

bottles1.jpg

bottles.jpg

These plastic bottle curtains were used in Olympic Stadium in Seoul, South Korea. That’s a big space. I can’t see it working in a home. It would look kind of nutty. BUT!! Here’s an idea. If you cut the bottles into little pieces (different shapes), it could work. I’ll try it one of these days. Let ya know how it works out.

Primary Sidebar