One of my very first posts on this site was a how to on rewiring antique light fixtures. As a new blogger, I kind of scrapped together some posts from electrical websites. Now that I’m a seasoned rewirererer I’d like to add some tips. Refer to the first post as a guide, but these should come in handy as well.
1. Have all of your tools and supplies together before trying to do this.
2. Before you go and take the fixture apart, study how it’s put together. Take pictures or draw a diagram. I’m talking wiring as well as parts.
3. Organize yourself as you dismantle the light. Keep a dish for screws or put them back into the fixture while you’re working.
4. Remember that if you need to wash or polish the fixture, you should do it while there is no wiring. Duh!
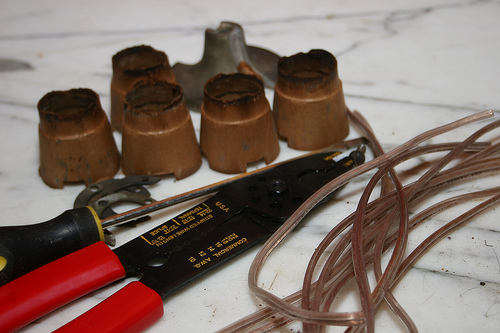
5. Don’t throw away the original sockets or socket covers just yet. It’s always best to replace them, but sometimes it’s really difficult to find sockets to fit these lights.
6. If you don’t have cardboard socket covers, you can substitute electrical tape.
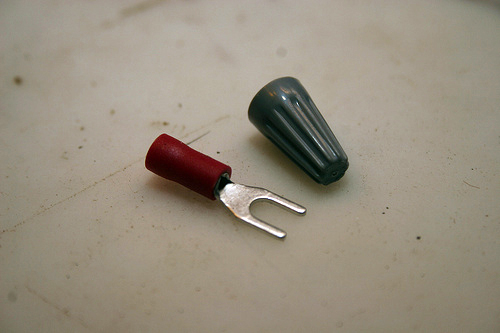
Spade terminal and wire nut
7. You can use wire nuts instead of electrical tape when twisting wire together.
8. Spade terminals may be safer than just putting the wire under screws, but they don’t always fit in place.
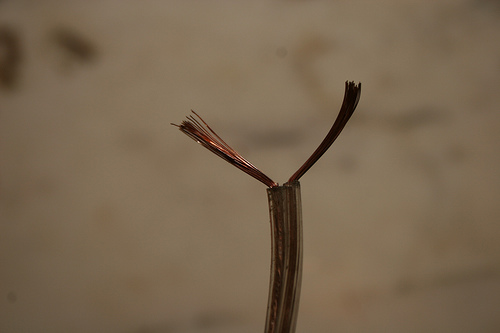
Leave more wire to work with.
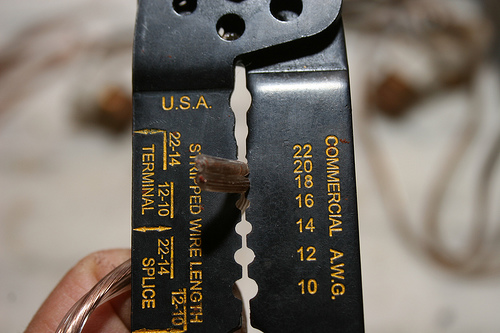
9. Make sure you have the correct wire gauge. Easiest thing to do is take old wire or fixture and ask where you buy it. The number is on the side of the wire. Match that to the stripper number. Make sure you release your grip as you pull or you may take more than the plastic protection.
10. When stripping wire, make sure you leave enough sticking out so you don’t have to go back and do it a second time.
11. Test, test, test before installing the fixture!


5 Comments
Do you have a source for a threaded light socket? (Just a normal socket for a floor lamp but with a threaded exterior for screwing a lampshade on.)
Thanks.
Kathleen,
Check out this post.
https://reclaimedhome.com/2008/03/13/antique-lighting-supplies/
Thanks. No luck so far w/ your list but I did learn that they’re properly called UNO sockets which will help.
rkd
I bought something with threads from My Lamp Parts. I’m not sure if it’s the same thing you’re looking for.
Mkay – I love you for this post. I think I have that exact fixture in the picture. I will print this out and refer to it before I dig in.