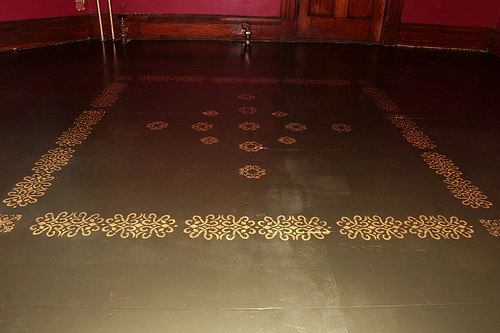
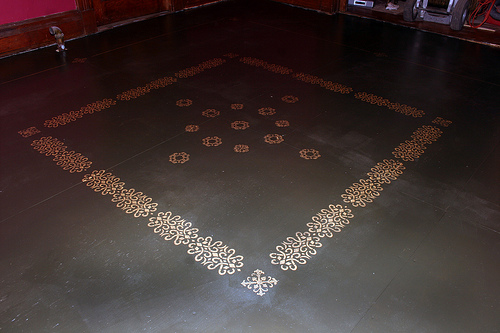
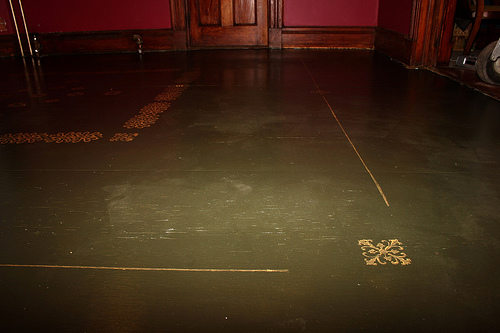
Ok, I promise this is the last time I’m gonna talk about this God forsaken floor. I have to show the (near) finished product though. Please disregard the patchy areas. I took the picture while the polyurethane was still wet.
Anyhoo, I really wanted to make life easy and use a design roller. I had never seen one before, but it was something I made up in my head. Well, after some internet research I found out it actually exists. Un- Wallpaper has a two roller system that evenly distributes paint while creating a pattern. Sounds like a great idea. The only problem I had was that I planned this out 5 minutes in advance, so ordering online wasn’t an option.
I ended up with stencils and foam stamps which I was able to buy at the local crafts store. It was time consuming to measure and layout the pattern and clean the stencils after each application, but it’s done and I love it. I noticed that Plaid, the same company behind Mod Podge, makes the stamps I used. Yay Plaid!
A few stenciling tips:
Clean the stencil or stamp each time you move it along.
Measure first! Tape or pencil in exactly where you’re placing the stencil.
There’s a spray adhesive you can use to keep it in place. I just taped it down.
You can roll, brush or spray the paint. If you’re using a brush, be sure to dab, not stroke.
Don’t breath, don’t move. As if you’re life depends on it!


6 Comments
It looks awesome!!!! I have some cool stencils I’ve bought but haven’t used yet. One is a swallow, might do the fence out in the yard…hmmm…silver spray paint? LOL
Pity it’s going to be a litter box by the end of next week.
Yeah, do the fence! I’m gonna start to stencil everything in sight.
Looks amazing Sor!!!!!
You did such a freakin great job!!!
Hey BTW I was at a meeting..call you later
That looks great! And probably smells a lot better than it used to as well. Love the wall color too.
wow that seriously looks awesome!
[…] I’m all about stenciling now, I thought I’d share some info about Stencil 1 with […]