Skip to content

Starting To Look Like A Store

Starting To Look Like A Store published on

IMG_0505

Our space is starting to resemble a store. We’re still far from the finish line (or rather, starting line) as our intention is NOT to be just another antiques shop. The plan was to take in a bunch of furniture from a single source and sell it while we get the shop ready, so we can save the time of running around shopping. That’s fine. But we need more of our own reclaimed creations before opening!

So, I’ll run around shopping most of the week while Emilia gets creative back at the shop. Shopping and creating? Sounds like fun to me.

IMG_0480

Irish House Porn

Irish House Porn published on

img_6730

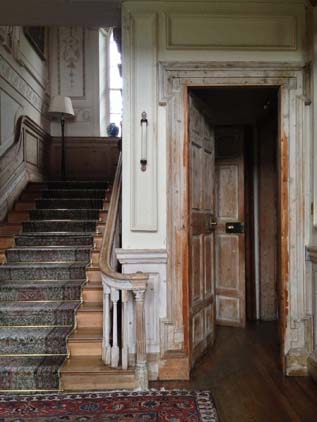
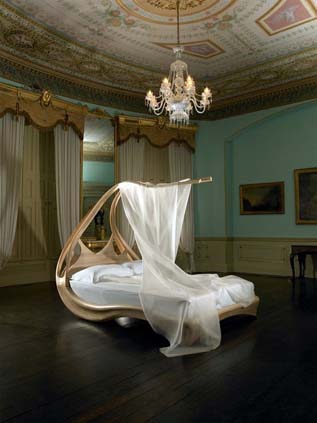
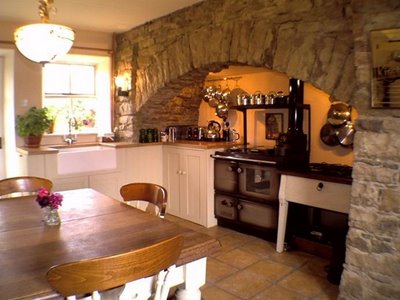
From the urban centers to the countryside, Ireland isn’t lacking in the historic housing department.  It’s unfortunate that many of the private renovations are modern shite…just like here in the US, but they make up for it with their manors and castles dating back to the 14th and 15th centuries. Here’s a look at some of the nicer historic housing stock.

Happy St. Patrick’s Day!

2c1eed1e2cca6ba16da4f176a9b2f0ab

blue

32358ed4216c9ebf127efb4e899ae751

6a00e54ed9ed53883301310fb1397e970c-800wi

The Patinaed Sign

The Patinaed Sign published on

IMG_0476

We got the keys to the store on January 15th. Waited about two weeks for Con Ed to turn on our meters, in which time we did renovations in the cold, running an extension cord from the basement to power up our lights and tools. It’s been such a tough winter that we haven’t wanted to even look outside to figure out what to do with the storefront. We knew we needed a sign. Well, now we can finally check that one off the list.

As you can see from the header of this page, Reclaimed Home’s “look” is a blue background with stamped white lettering. Emilia is all captivated by her precious reactive metal paints, so we used the blue patina on tin ceiling tiles. It looks great!

IMG_0493

One problem. When she started to seal it, the whole thing darkened. We called Metal Effects. They told us that it doesn’t need to be sealed. It would be fine outdoors. Great! We just wanted to test it before getting up on a ladder and bolting the sign to the front of the building. Sprayed some water on it and off came some blue.

The sign is now sitting in the workshop until we figure out if there’s a way to protect it while keeping that lovely bright blue. Worst case scenario is that we’ll have a darker colored sign.

But at least it will look nicer than the “Store for rent” sign that’s currently there.

Animal Prints

Animal Prints published on

IMG_0468

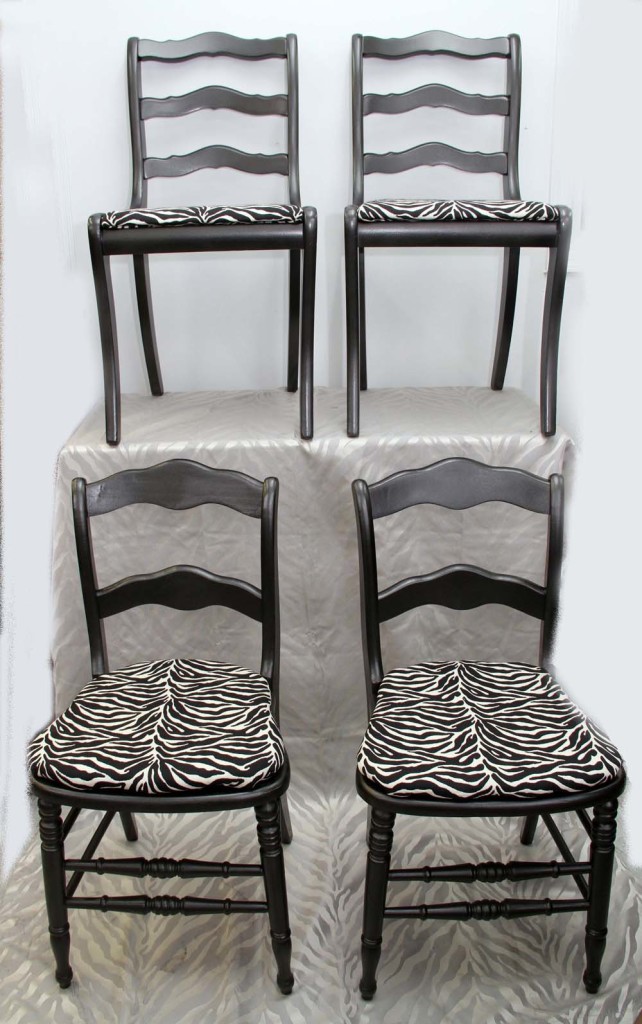
Would love love love to find some great vintage fabric to reupholster chairs and such, but the show must go on with or without vintage, so we purchased new fabric. Zebras and leopards, oh my!

The four slate gray metallic chairs were made a set from two different pairs. Two and two and they look cool.

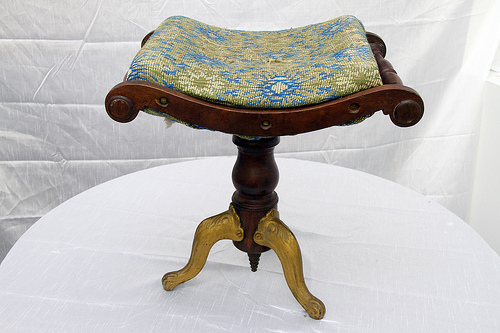
Here’s a before and after of the ottoman with iron feet. Both on sale in da shop. Word. Click images for more info.

12916304874_8c1bf2b8ba

IMG_0463

Salvaged Windows

Salvaged Windows published on 2 Comments on Salvaged Windows

IMG_0472When we got our hands on some antique windows, we thought we might do little projects with them such as pot racks, coffee table tops or cabinet doors for resale. We decided to keep a few for ourselves and incorporate them into the shop renovation when we were figuring out how to close off a wall that didn’t go all the way to the ceiling.

They look great! They allow natural light into the back work area and a couple of them are on hinges for those hot days when we need to let some air conditioning back there. Because the windows weren’t the exact measurement across, for the middle, we used a piece of tin ceiling that was lying around the shop (looks better in person). That whatchamacallit triangle thing below is an item displayed for sale. We’ll be a little sad when someone buys it because it looks perfect there.

We have some windows left, y’all! Soooo much better than using those glass blocks.

Shabby Sleek

Shabby Sleek published on 1 Comment on Shabby Sleek

smIMG_0459

Our first revitalized piece in the shop! Meet our first child. Someone stupidly didn’t get before pictures (me) but if we decide to paint pieces, it’s because they are past their prime. In this case, the wood was all dinged up and needed filling, etc.

Emilia went with a patinaed copper top (Metal Effects!) and antique white base. High gloss poly finish on the top so it can be used for just about anything. The base is satin poly.

Lemme tell ya, it’s so nice to have one bright piece in the shop! Everything we picked up from the Beacon dealer is creating a sea of brown. It brightens up the joint!

This piece is for sale here. Go buy it.

Things To Do This Weekend

Things To Do This Weekend published on

Press Release ImageS

Yeah, it’s only Thursday. No time like the present to plan ahead.  What are you doing this weekend?

The Gluten-Free EatUP! will return to Freddy’s Bar in Brooklyn on Sunday March 9, 2014  from 2pm to 6pm. Address is  627 5th Avenue between 17th and 18th Streets. Gotta pimp out my girl, Deb again!  She’s running the gig. I’m kvelling!

123The weather will be a balmy 50 degrees in Brooklyn this Saturday. The perfect day for a walking tour of the lovely Stuyvesant Heights. Led by Suzanne Spellen and Morgan Munsey, two of my favorite buddies, the tour promises to be fun and interesting. I’m making that promise, not them. Tickets are $20. Tour starts at 2pm on the 15th.

59d7895aa3b711e3afad124fa93f7805_8

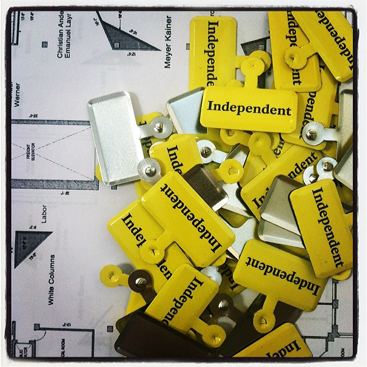
The Independent art exhibit starts today and runs through the 9th. The show features over fifty international galleries and non-profit institutions representing fourteen countries. Tickets to the Chelsea event are $20.

Organizing and Creating

Organizing and Creating published on 1 Comment on Organizing and Creating

IMG_0451

No, the shop won’t be ready to fully open until April, but we’re slowly getting there. For one, we are letting people come in by appointment as it’s getting organized and sorted out. In other words, lots of stuff is getting stored in the basement.

IMG_0450

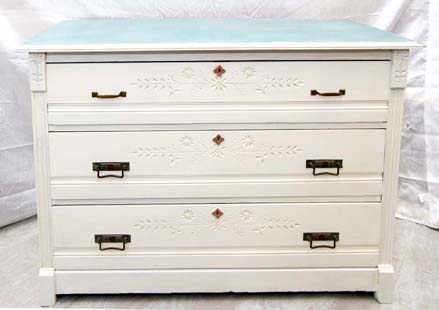
Our workspace is coming along thanks to anal Emilia! She even started working on the first repurposed piece! It’s a dresser that was too beaten up to sell as is. Wonder what she’ll do with it?

IMG_0449

Lots of Antique Stuff

Lots of Antique Stuff published on 1 Comment on Lots of Antique Stuff

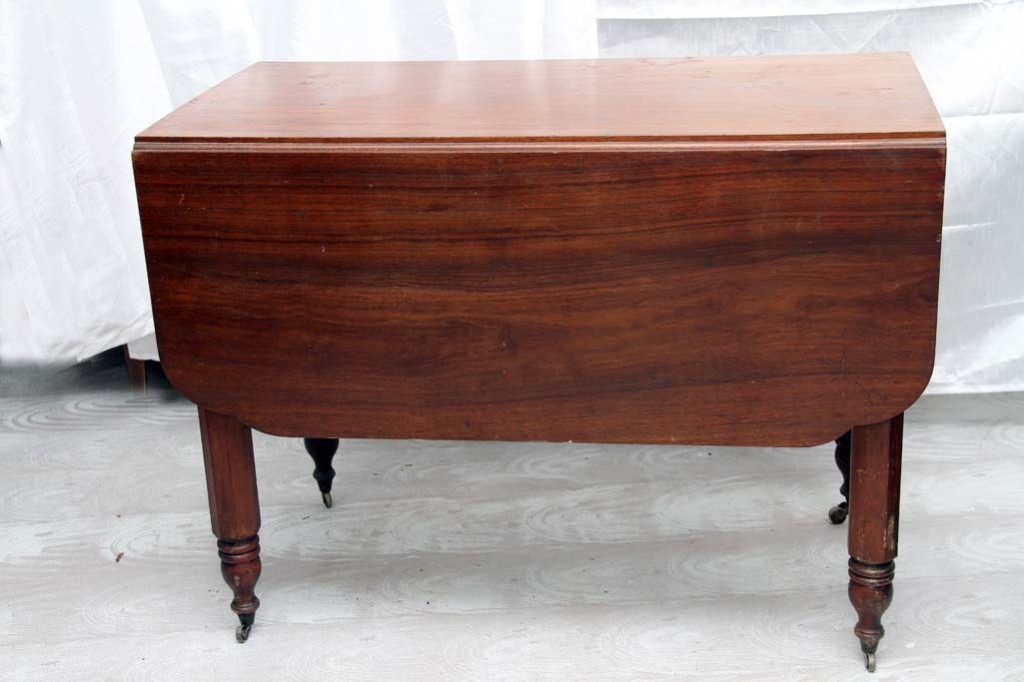
IMG_0441 We picked up the motherload of antique furniture from a closed shop in Beacon, NY last week. It took all day yesterday just to sort through a portion of what we have, clean it up and photograph it. Prior to that, there was no room to move in the shop. Not that there is now, but it’s getting better.

Take some off our hands! These are the items that don’t need much work, so we can let them go as is. There are other items that we’ll have to spruce up before they hit the sales floor. Just trying to get it all uploaded to our shop. Click on images for pricing and info. Cheers! IMG_0415      IMG_0419

Score in Ditmas

Score in Ditmas published on

IMG_0356

We’re not going to tell you what we got the chrome and glass table and mid century dresser for. Nor will we divulge the cost (or lack of) of the marble table top that is not in the picture. Do we feel guilty for taking this stuff in and turning it over for a profit? Nah. It makes us feel better than begging for money to open the store via crowdfunding. At least we’re earning it by schlepping!

A big “THANK YOU!” to Nora, the editor of Ditmas Park Corner for taking the time to find a new home for items that might have otherwise ended up in the landfill. A bigger thank you for letting that home be us and for helping load the truck.

PS: Pay no attention to the man behind the curtain.

By Appointment

By Appointment published on

IMG_0318

Huzzah! The merchandise is dribbling in to the Reclaimed Home storefront at….wait for it….945-947 Carroll Street in Crown Heights. No, no, don’t coming a-knockin’. We’re not there all the time and our funky curtains are drawn so the public can’t see our chaos. That being said, we’ll start to upload our pieces to the online store (link later today!) and do business by appointment until the soft opening which will take place before the grand opening.

IMG_0337

It’s like this. In lieu of a Kickstarter campaign, we’re trying to make a buck prior to opening so we can debut with the mahvelous pieces that will be representative of the store.  While we’re working on our own creations and setting everything up, some as-is pieces will be for sale as we come across them. Right now, it’s mostly furniture but we promise that we’ll have architectural salvage and plenty of repurposed pieces once we open!

IMG_0324

The soft opening should be in a couple of weeks. That means we’ll start with a few days per week. When it’s time for the grand opening, we’ll probably do 7 days per week (ugh) to see how it goes.

So, be sure to keep checking the store! These particular items haven’t been measured or priced yet but will be up by this evening. Oh, also…if you’re looking for something specific, please let us know as we’re putting together a “Wish List” database for customers.

IMG_0334
IMG_0338 IMG_0346 IMG_0348 IMG_0350


Upcycled Pianos

Upcycled Pianos published on 1 Comment on Upcycled Pianos

grand

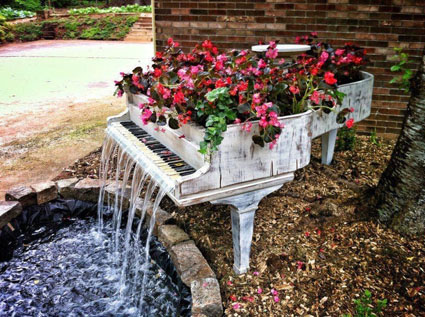
After coming across a baby grand piano yesterday, we are so excited that we get to breath new life into it! We knew we wanted to do piano furniture but thought our first project would be an upright, not something this fancy schmancy. Just going over some options. Some awesome, fabulous options.

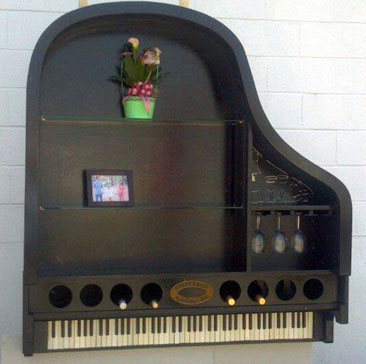
Repurposed-piano-bookcase-and-wine-rackHere’s a DIY tutorial for those of you who want to try this at home. Holy crap, it does not look easy, although we don’t know why they had to take it apart completely and strip it down to bare wood. Guess we’ll find out soon enough.

16-of-the-worlds-coolest-music-inspired-furniture-and-design-9

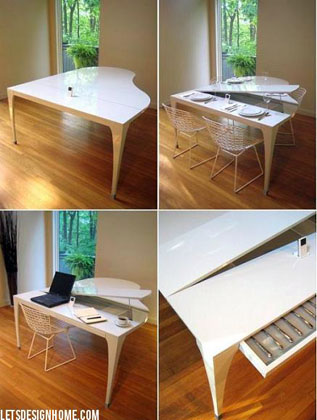
We thought of a table but it would look different from this. We do love the utensil drawer looking like keys though!

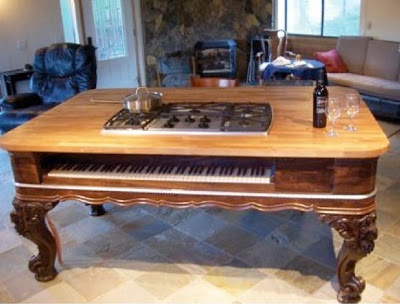
pi 1Dare ya to find a cooler kitchen island than this!

0pianobookshelf-001

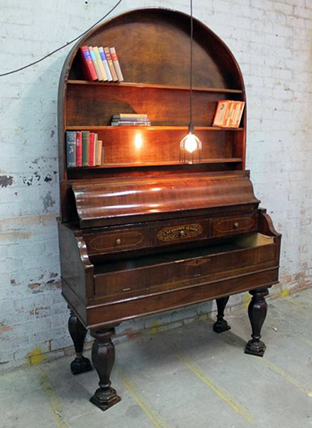
Hard to tell this was even a piano at one point, but love it just the same!

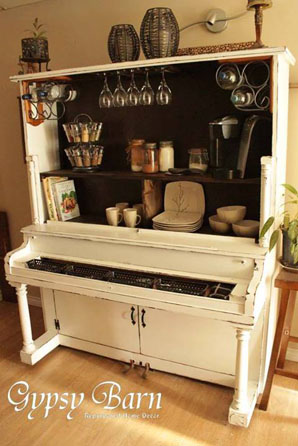
Repusposed_Piano_Pantry_by_Gypsy_Barn.346104744_std

Gypsy Barn has some amazing transformations on her site, but she’s located in Ontario so we’re ok with promoting our competition.

Mod Podge Everything

Mod Podge Everything published on 1 Comment on Mod Podge Everything

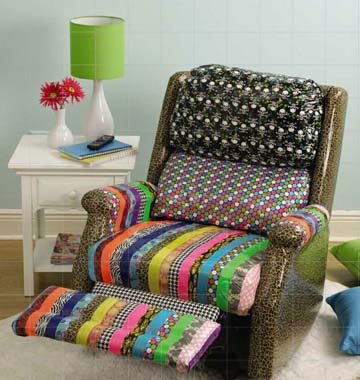
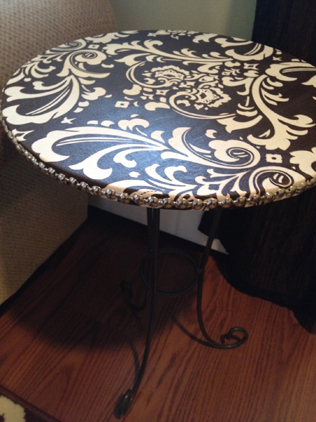
chair

For the record, let’s establish that by “Mod Podge” we mean an artist’s medium such as that brand, not specifically Mod Podge. Mod Podge is simply watered down white glue that you can either make yourself or purchase a better solution. We want to share the many fabulous items made with Mod Podge but at the same time, we’d like to remind you that just because it looks great at first doesn’t mean it’s going to last.

The key to longevity is securing and sealing your project. Yes, Mod Podge is a glue, but do ya really think that’s enough for a piece of furniture that gets lots of use? Tack it down on the borders if possible. And seal that stuff! FYI, Mod Podge remains sticky. It’s not magic, people.

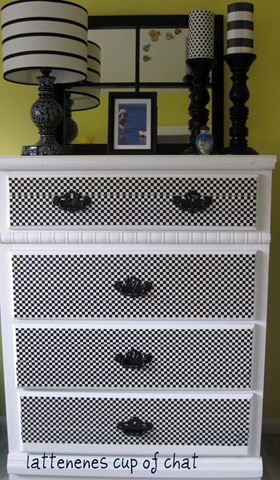
That being said, check out these cool projects.

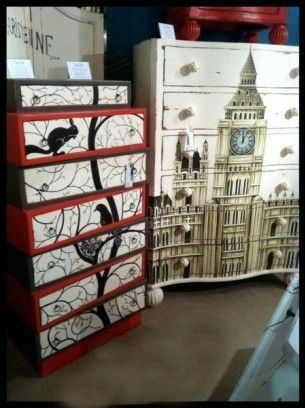
img_5892

f1ec02a1c7d7faf60e11439e5561f008

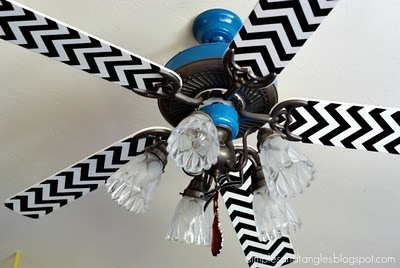
E fan 3

Wall Panels

Wall Panels published on 1 Comment on Wall Panels

01-vintage-charm

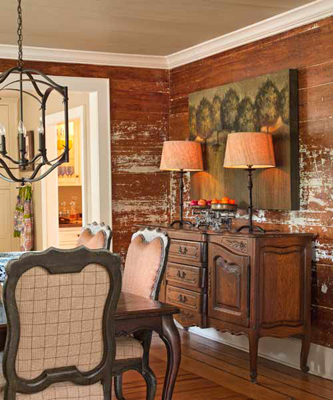
Do you ever wish there was something more interesting than sheetrock? Well, of course there is, sillies! You can cover existing sheetrock or crackling plaster with fun panels, but if you are down to the studs and want to use a sheetrock alternative, you would want to make sure that 1), you can insulate without it poking through and 2), you have enough studs to support each panel.

OMG, I love the paneling in the top photo. Do you know what that is? Just some crappy new wall paneling. Hung sideways. Painted and distressed. Yup.

4d1023922eeb83a350fb89789c72bf5b

To be honest, I’m not sure how this was done as the website isn’t working and I was only able to pull the Pinterest photo. What would I do to recreate this look? I’d start with the painted sheetrock and then unless I had several frames, I would do a cheater version and just run some furring strips across the entire wall to create the boxes. Or you can just create lines. Or you can use frames with varying sizes and shapes. Go ahead and miter every frame if you want. But me? I’d be too lazy to do that.
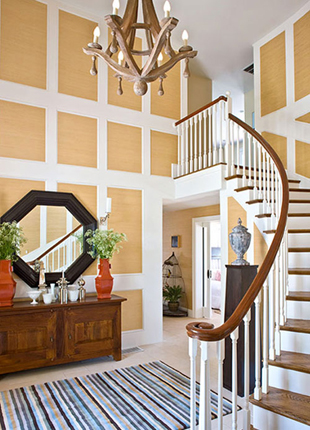
DecoratingTallWalls06This is an easier way of sectioning off the wall instead of frames and it’s lovely how they used wallpaper inside each frame.
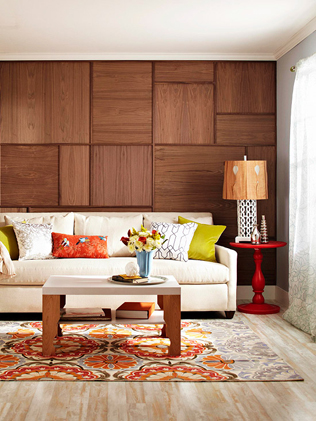
101377099.jpg.rendition.largestThere’s a DIY tutorial for this veneer panel wall on the BHG site. Click on image.

abed0a4a93fd5ce0343acef19008c822

What about just stapling some fabric to a board and hanging it? Bam! Done!

Primary Sidebar