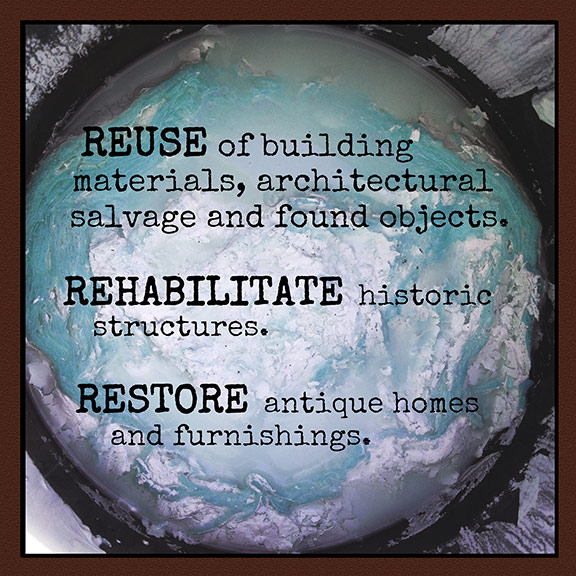
reclaimedhome.com
DIY: Replacing Wainscoting Panels
November 17, 2008

 8.jpg

Remember my blue Bed Stuy living room? That post was back in July. Here we are four months later and I’m still stripping the wainscoting. Cut me some slack. I think I’ve actually worked on it twice since then. Half the room is stripped and we’ve encountered some problems along the way.

Like most everything else in this God forsaken house, the wainscoting was in bad disrepair. As I started taking off the paint, the caulk and plaster holding it together came along with it. We need to replace about 1/3 of the panels.

It was easier than I thought. Especially because it was Hubby doing it, not me.

wain1.jpg

First “we” took a piece of plywood and cut it to size. Best thing to do is get the measurements off the original piece. They’re inset, so you want it to overlap (or rather, underlap) enough to glue the edges. Those boards across are just holding it in place until the glue dries. There’s nothing to screw it into on the inside.

3032435297_8dc7a1ce05.jpg

Next “we” had to recreate the groove design. We did this with a table saw. Adjust the blade to the proper height so you’re not cutting the whole damn piece in half. Then just guide it through. Measure twice, cut once!! *Please note the safety gear: gloves, goggles and earplugs.

wain2.jpg

So, there you go. Clean, straight lines with a table saw. You can use a variety of tools, but this was fairly easy as the straight edge was in place. If you don’t own a table saw, you can always rent one.

And PS: Don’t cut your fingers off.

posted @ 7:28 am Comments (8)